Wouldn’t it be awesome if you could track your users according to your product? Well, keeping this in mind Appsero has invented a feature called Mailchimp Tag. Through this Tag feature, you can trace your plugin or theme users heeding your products.
Step 1: Navigate to Your Plugins/ Themes
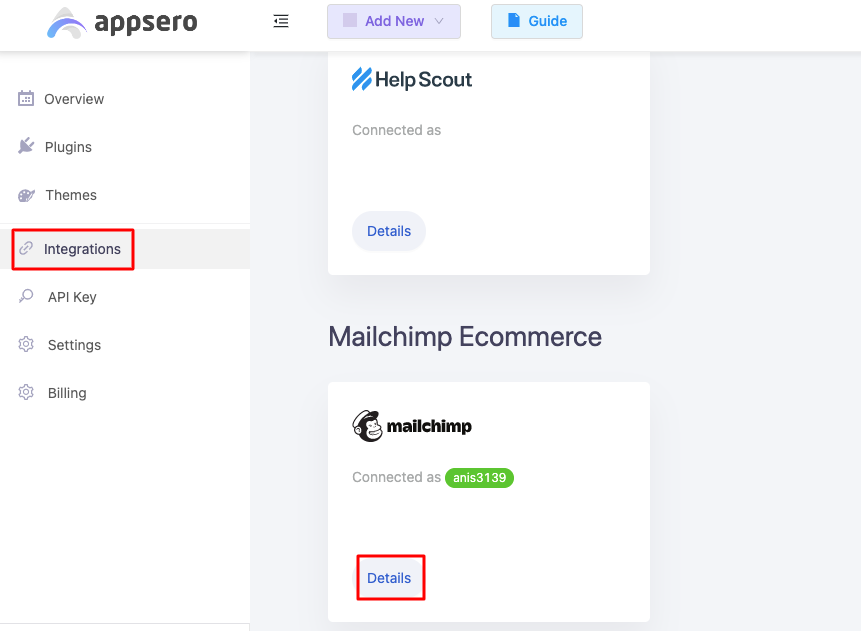
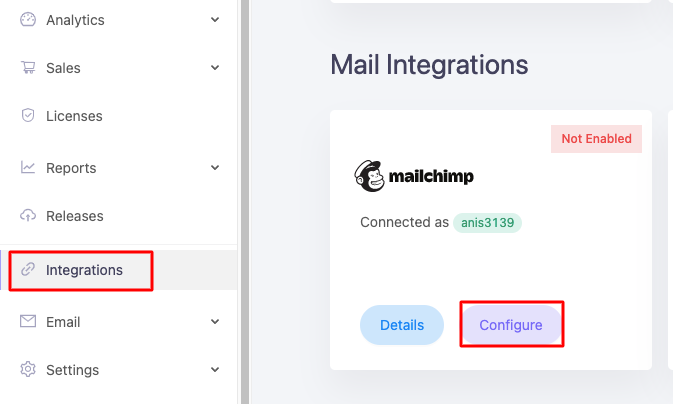
First of all, from your Appsero dashboard make sure Mailchimp is integrated. You can check it by going through- Integrations> Mailchimp. Click on the Details button.

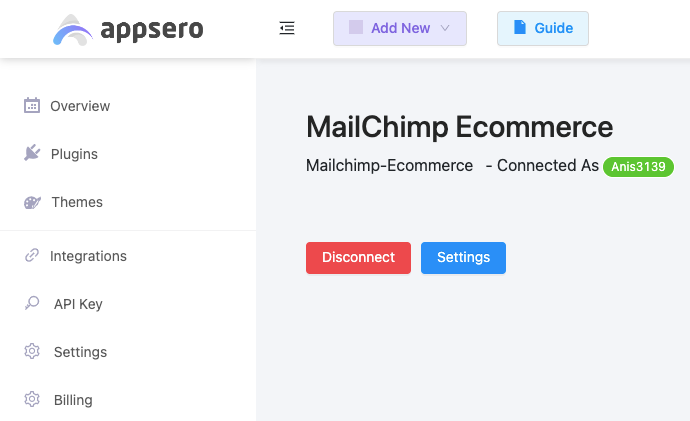
If Mailchimp is connected you will get an interface like below-

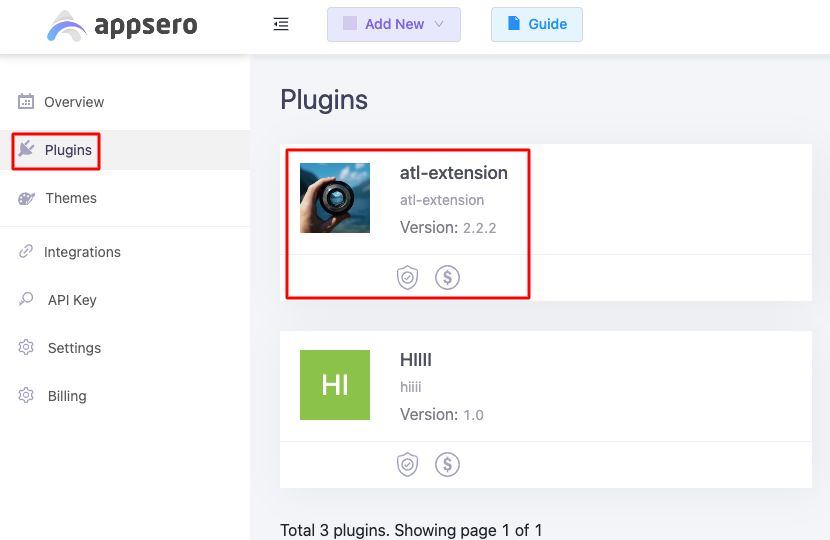
Now click on Plugins/ Themes. Take any one of your plugins and click on it to find out the option Integration.

You will get the Mailchimp integration here as well. In the Mailchimp Integration, you will see a button called Configure, click on it.

Step 2: Set Up Mailchimp Tag Feature
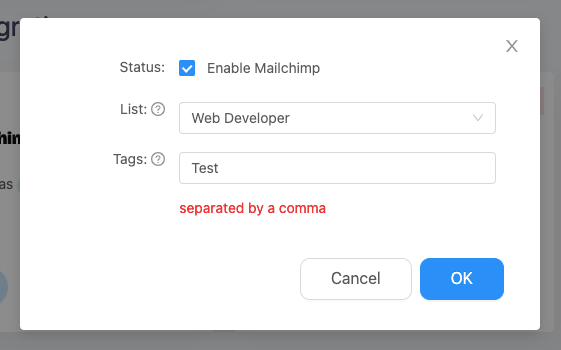
After that, a popup will appear where you have to fill 2 fields, like- where you want to see the tags and what will be the Tags. Plus, don’t forget to tick Enable Mailchimp. For example, we have filled fields like the image below. Lastly, just click OK.

Step 3: Check Mailchimp Tag in Your Account
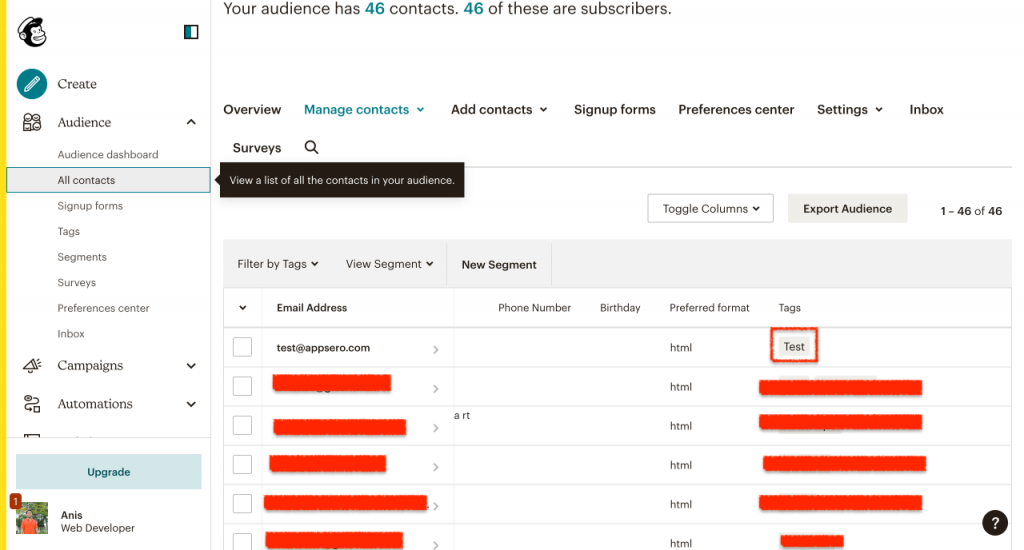
Now, if someone buys that particular plugin or theme from the website you will get the detail of the customer attaching the Tag you have created earlier.