With the new Mailchimp eCommerce feature, all your product data from Appsero will be synced. After syncing it for the first time it will sync the data automatically from next. Through Mailchimp watch your in-detail customer data like- Email Open Rate, Click Rate, Total Revenue, Total Spent Money, and more. Plus, you can set individual product-wise tags with your customers to understand which customer has purchased which product. Mailchimp eCommerce integration will assist you with Personalized Marketing to make long-lasting loyal customers.
Step 1: Open Your Account in Mailchimp
First of all open an account in Mailchimp by giving all the credentials. Here, you will not just send emails or run email campaigns. Mailchimp will help you to check the analytics of your products. And, give an overview of your every product.
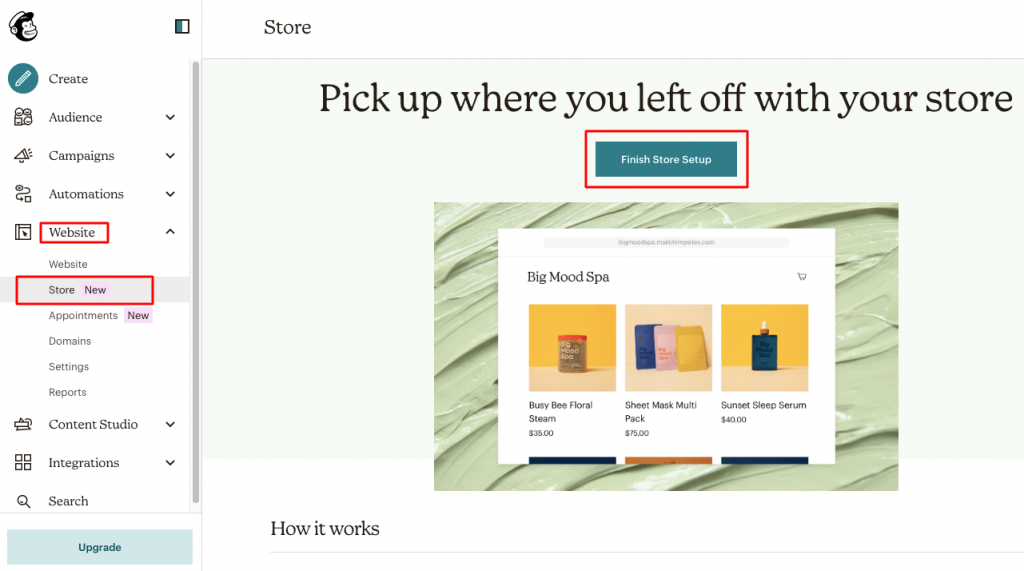
Step 2: Create Store in Mailchimp
Build a store by adding your plugins or themes. You have to include the product name, price, and location. There are some more details to complete the store creation.

Step 3: Find API Key from Your Mailchimp Account
Now, navigte to Mailchimp account. Click on your account picture on the left side of your screen like the image below.

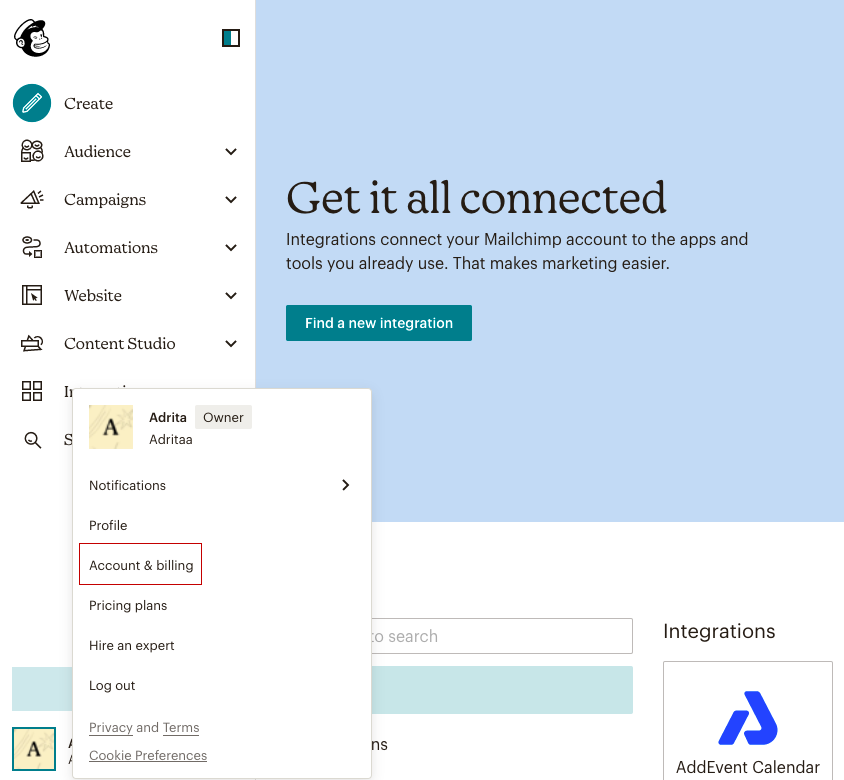
Next, select the Account & Billing option. You will find lots of options and just hit on Extras, there will be a field called API Keys.

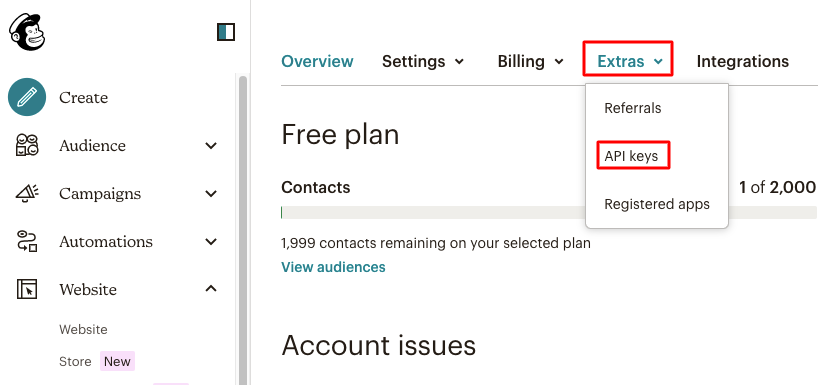
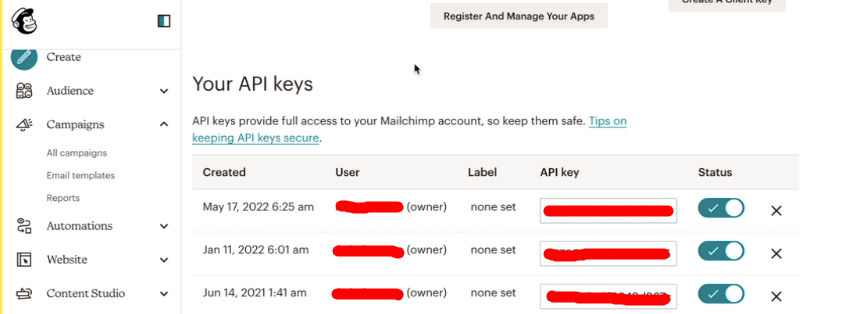
You have to click on it to find the API Key. Now copy the newly created API Key from here.

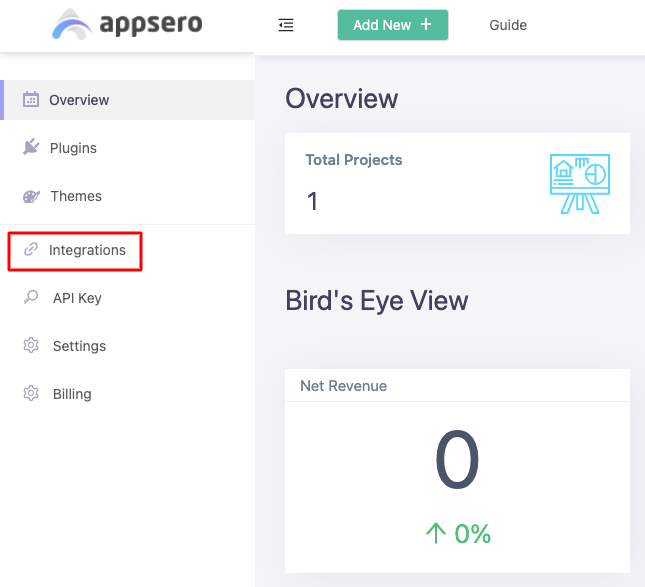
Step 4: Navigate to Integration from Appsero
As our API Key is ready let’s go to the Appsero dashboard and navigate to the Integration.

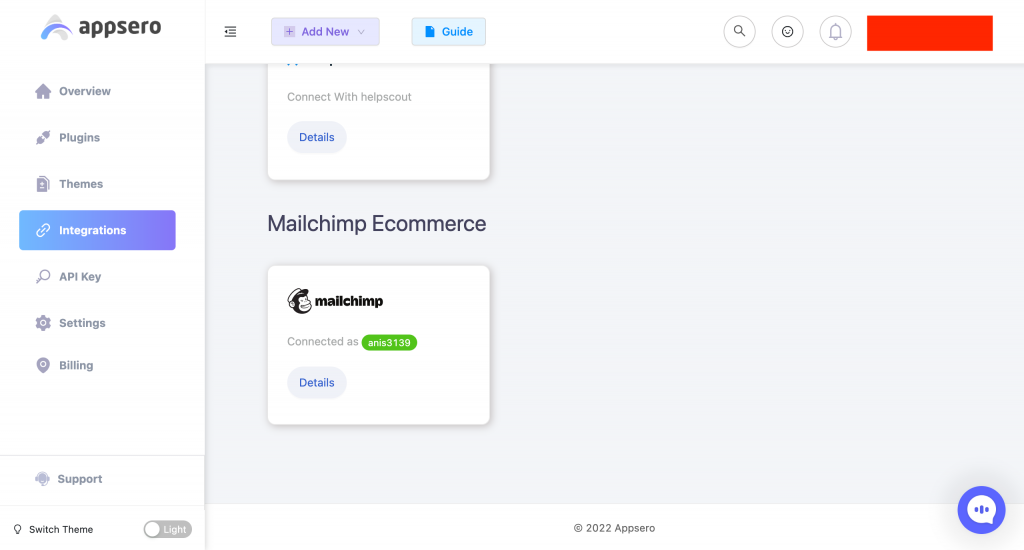
Click on the Mailchimp Ecommerce.

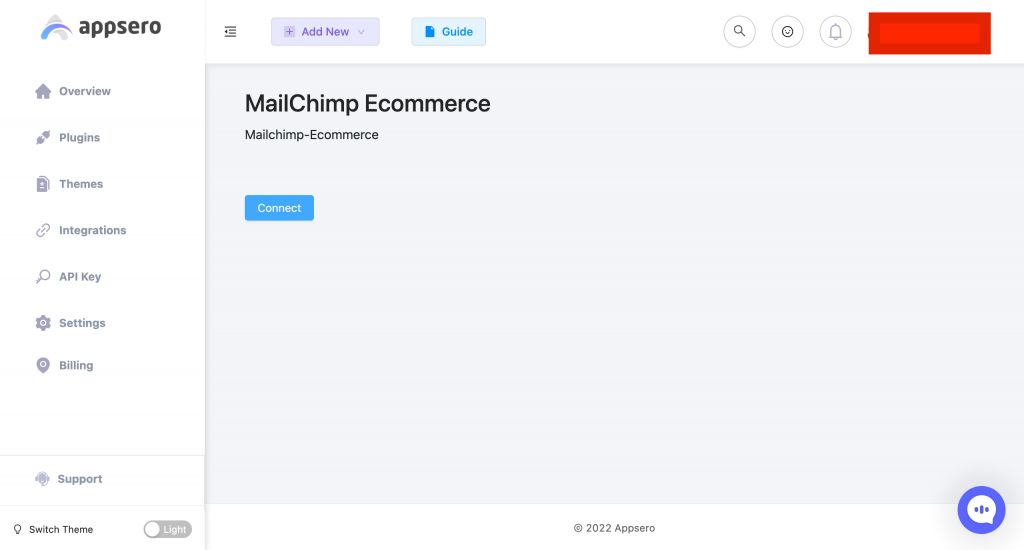
You will get an interface like the image below. Next, click the connect button.
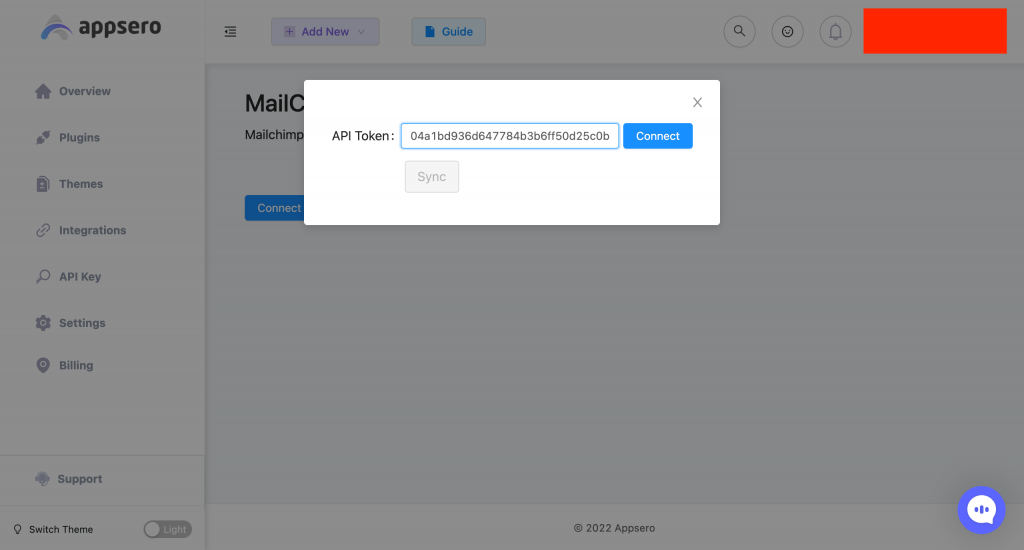
Step 5: Paste the API Key in the API Token Field
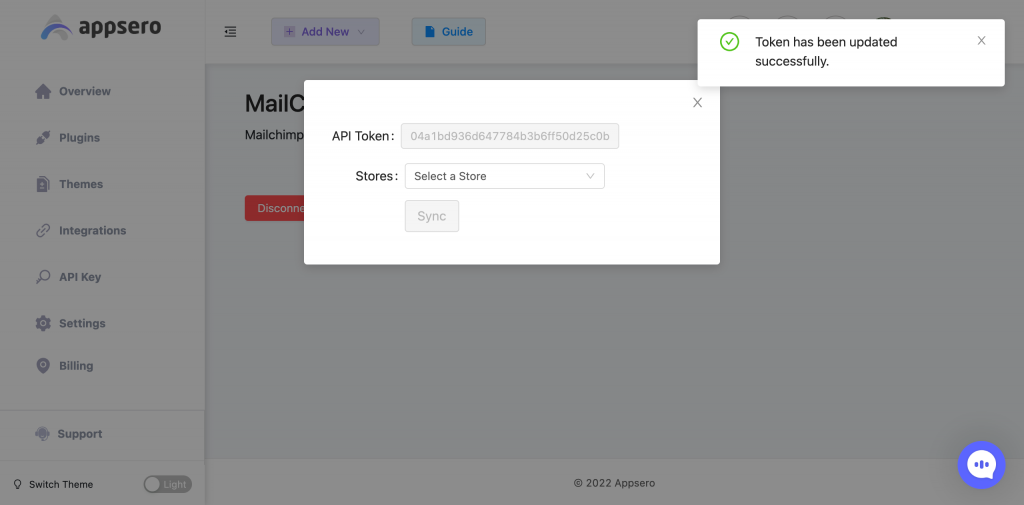
For clicking the connect button there will be a field called API Token. You have to paste the API Key here that we have taken from Mailchimp. Then hit the connect button like this one.
A short popup- “Token has been updated successfully” will appear in front of you.

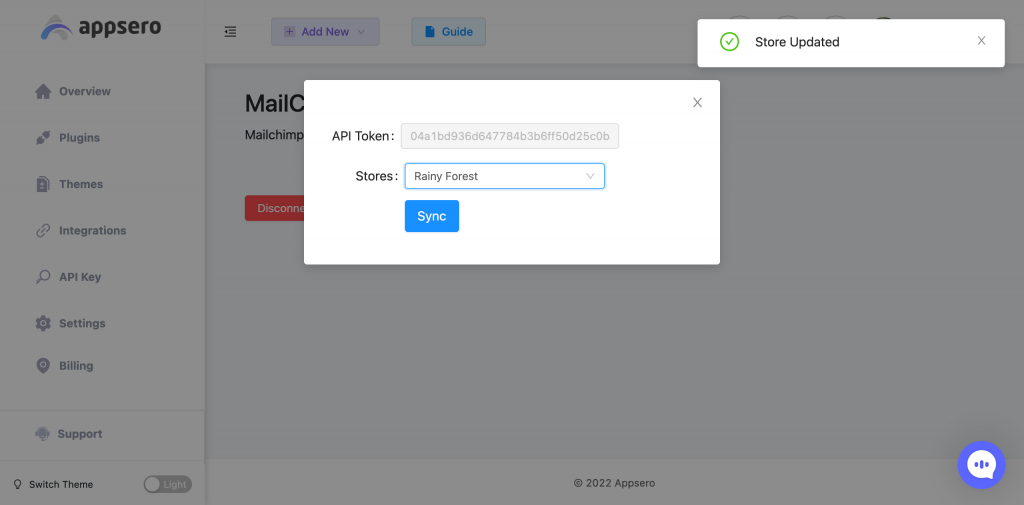
After that, add your store of Mailchimp with Appsero by selecting the name. Finally, just click on Sync.
You have successfully integrated Mailchimp Ecommerce with Appsero. From now on you can track your customers in detail. Let’s see how-
Use Case of Mailchimp eCommerce
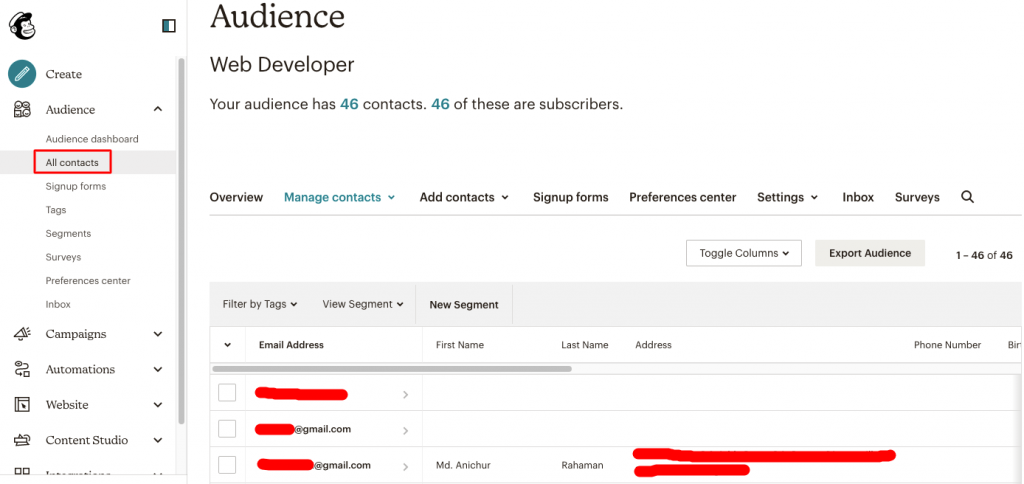
Through the Mailchimp eCommerce feature, you can check all the information of your users including- Email Address, Name, Address, Phone Number, Birthday, Revenue you have got from the person, and lot more.

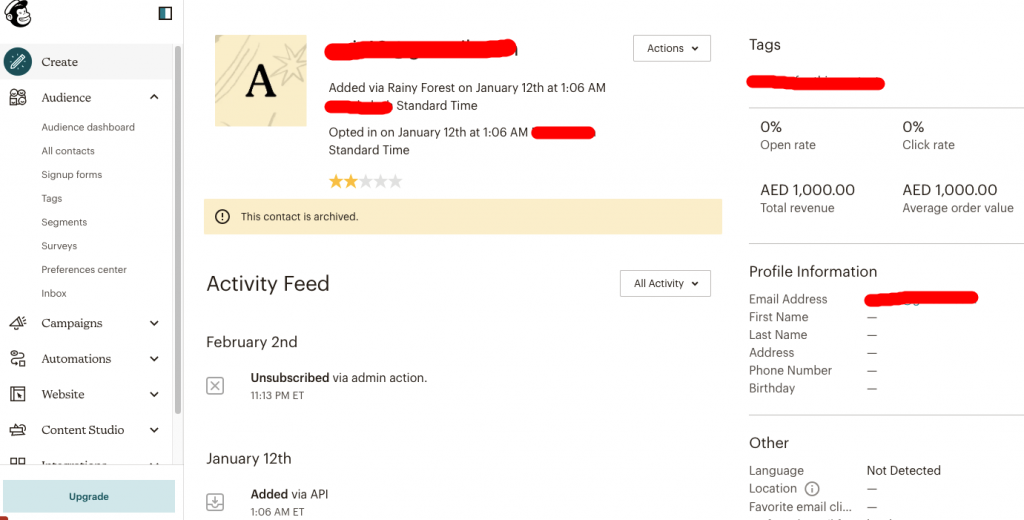
Click on any email address and get detail like the image below. You will get all the information about that person. Most importantly the Activity Feed will mention the action of the user. You can even track from where he or she purchased your product.

We’ve prepared a detailed video as well to guide you through the integration process. The following video explains how to Integrate Mailchimp eCommerce with Appsero for WordPress Plugin Management.


