Keeping in mind the stylized interface of a plugin Appsero has brought a feature for the plugin owners. Let’s see how you can set the icon and banner in your existing plugin.
Step 1: Navigate to Appsero Dashboard and Find Plugins
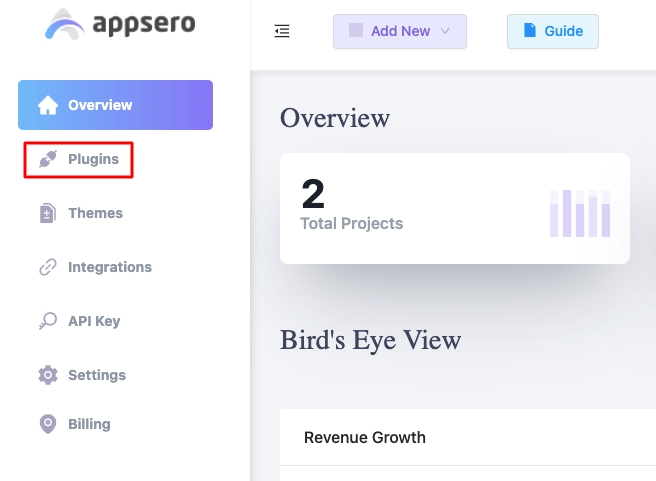
Firstly, go to your Appsero Dashboard and click on Plugins.

Now, find out the Settings and click on it.


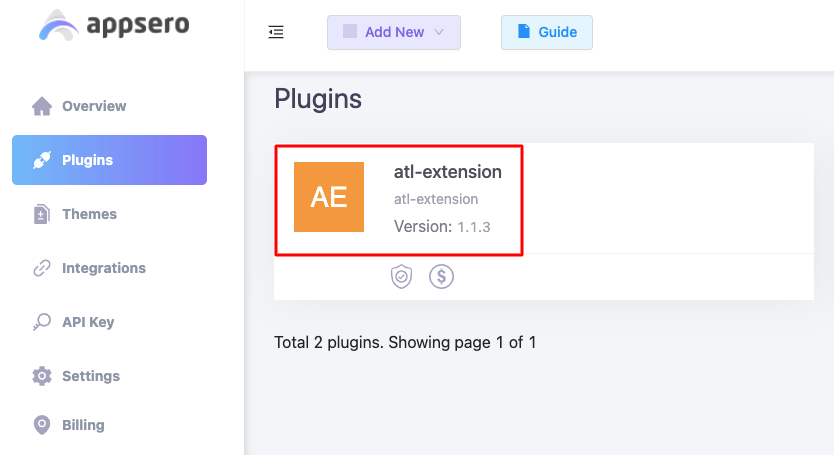
Choose any one of your plugins.

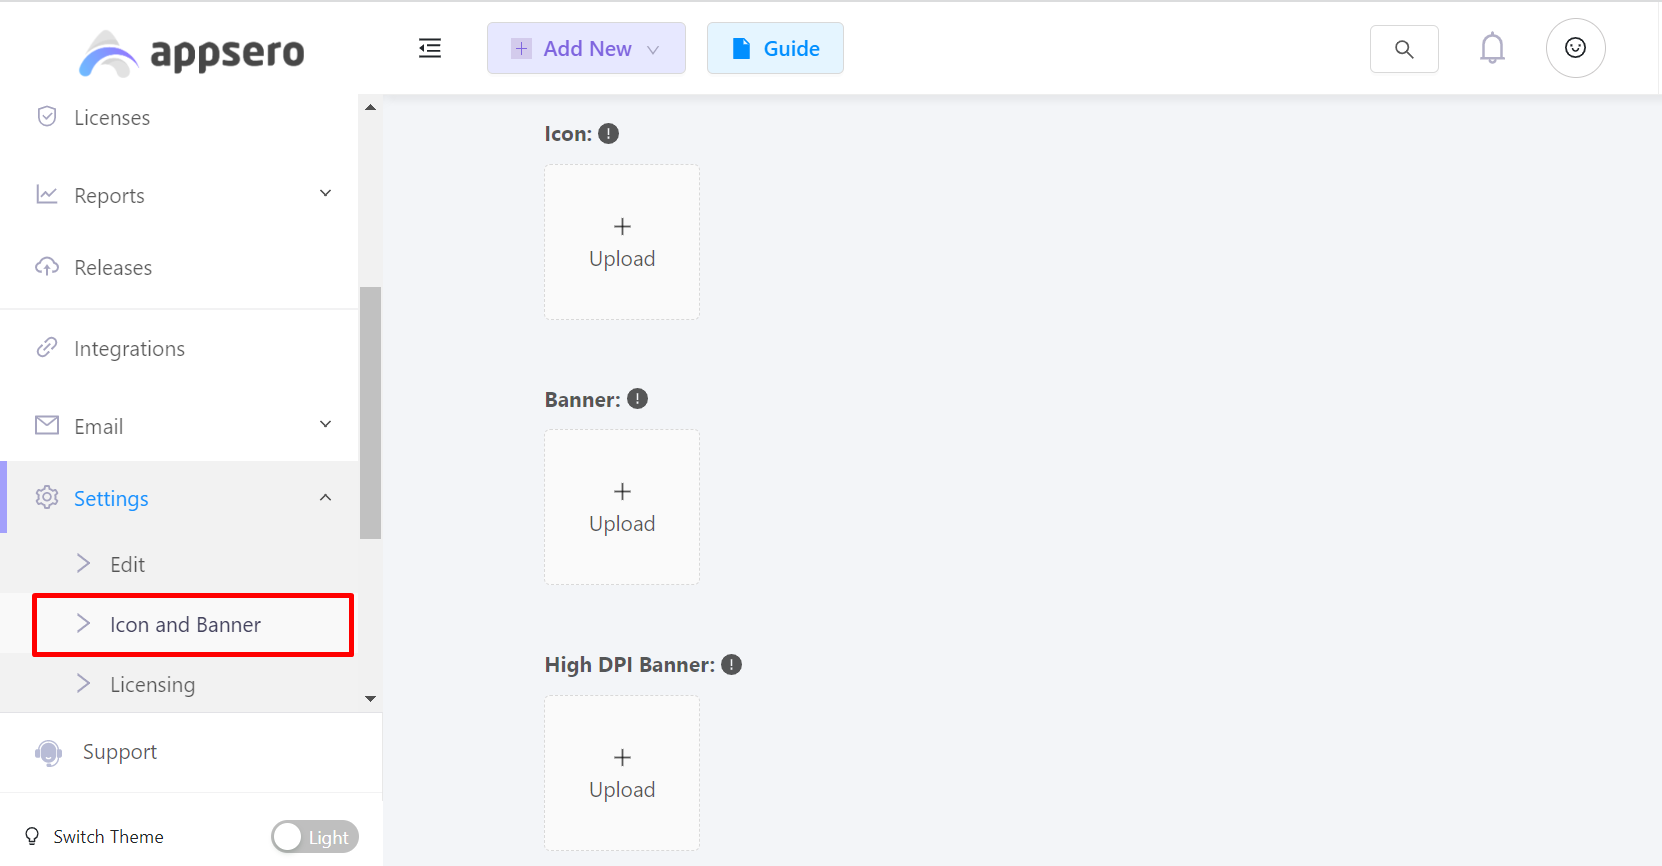
Here, the Icon and Banner feature will show up, just hit on it.

Step 2: Change the Icon and Banner of Your Plugin
Now, the field for uploading icon and banner will appear like the image below.

Upload your plugin icon. Just don’t forget to specify the visible area and click on the Crop button right below the icon.

And, the same way for the banners. The dimensions are different only.

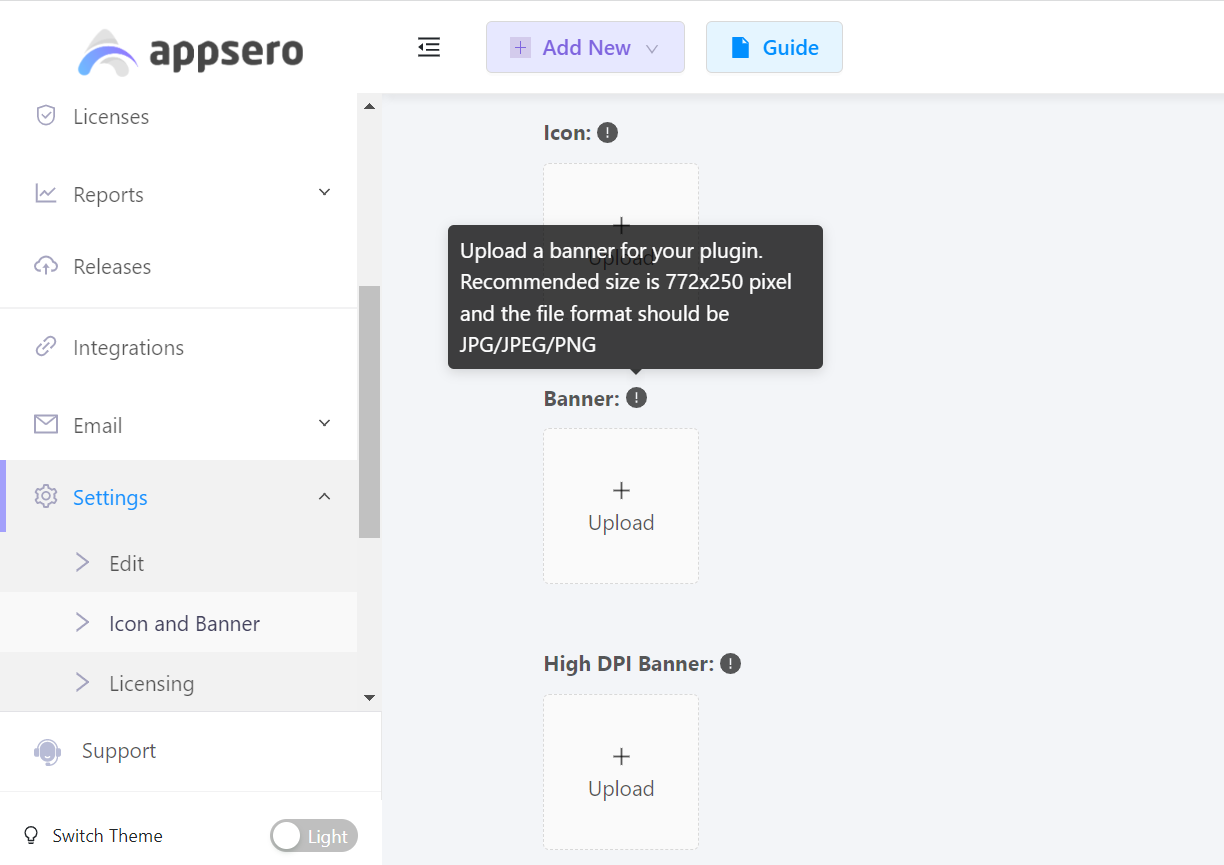
There are two types of banners here. The first one is for all types of devices. At the bottom there is a High DPI Banner, it’s for high DPI devices such as an Apple MacBook Pro with Retina Display.
Step 3: Check Out the Final Look of Your Plugin
Click on the updated version of your plugin.

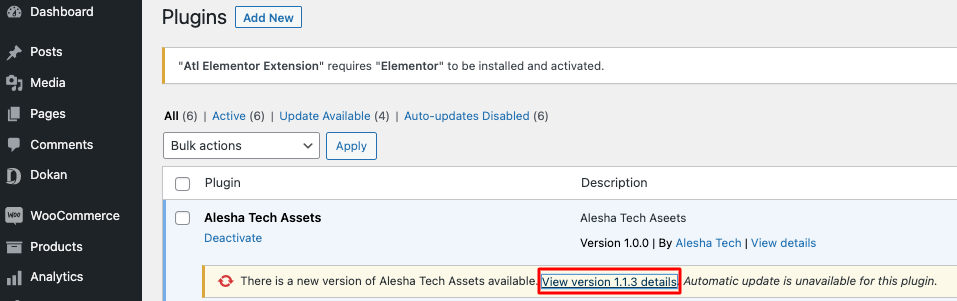
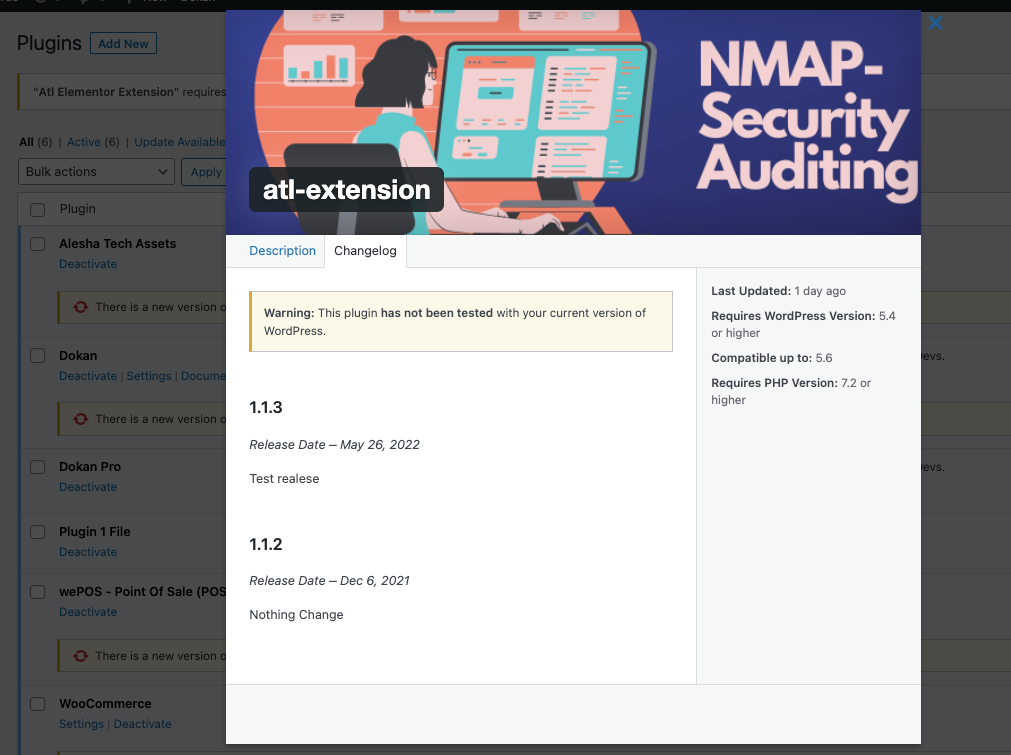
You will see the new banner in the pop-up like this-

And, if you navigate to Appsero and select Plugins, you will see the uploaded icon visible here.

That’s it. Try this feature for the interface of your plugin.

