Now, you can manage your affiliate subscription using the new FastSpring Affiliate feature of Appsero. That way, you don’t have to worry about manually calculating the numbers regarding affiliates.
It will be automatically calculated on the WordPress dashboard using the this feature of Appsero.
Now, let’s see how you can setup the FastSpring Affiliate feature of Appsero.
Setting Up FastSpring Affiliate Feature
You need to follow these simple steps and you can easily manage your affiliates.
Step 1: Add a plugin with FastSpring as the selling platform
At first, you need to add a plugin through the normal procedure. However, you need to choose FastSpring as your selling platform. You can know about how you can add a plugin using FastSpring from here.


Step 2: Add Appsero Helper plugin
After you have successfully added your plugin, now you need to go to your store page and add the Appsero helper plugin on your site. If you navigate to Dashboard-> Settings-> Appsero Helper, you will find all the settings.

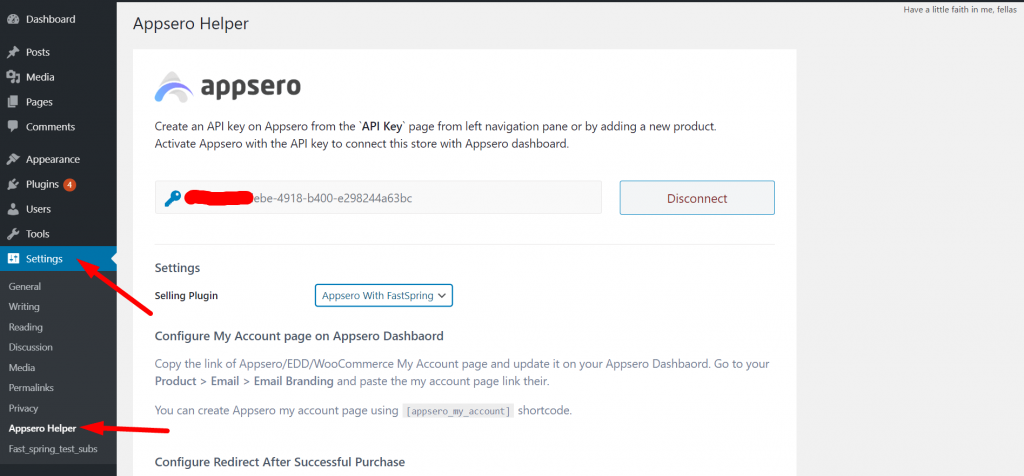
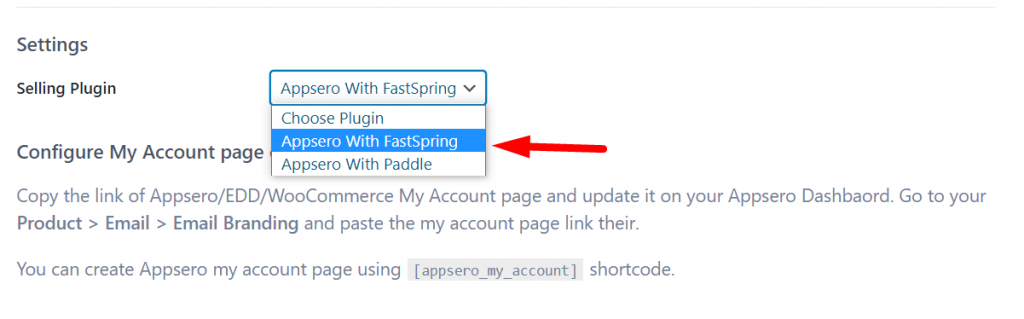
Step 3: Choose Appsero With FastSpring
Now, when you navigate to Dashboard-> Settings-> Appsero Helper, you will find Settings option if you scroll down. Now, in the choose “Appsero with FastSpring” from the drop-down box for the Selling Plugin option.

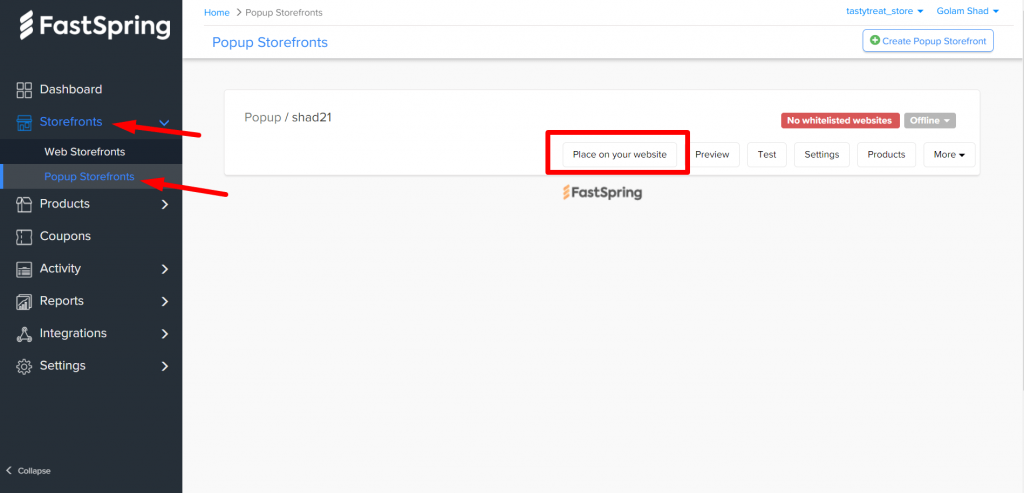
Step 4: Copy FastSpring Storefront path
Go to your FastSpring account, now navigate to Storefronts-> Popup Storefronts. Click the Place on your website button.

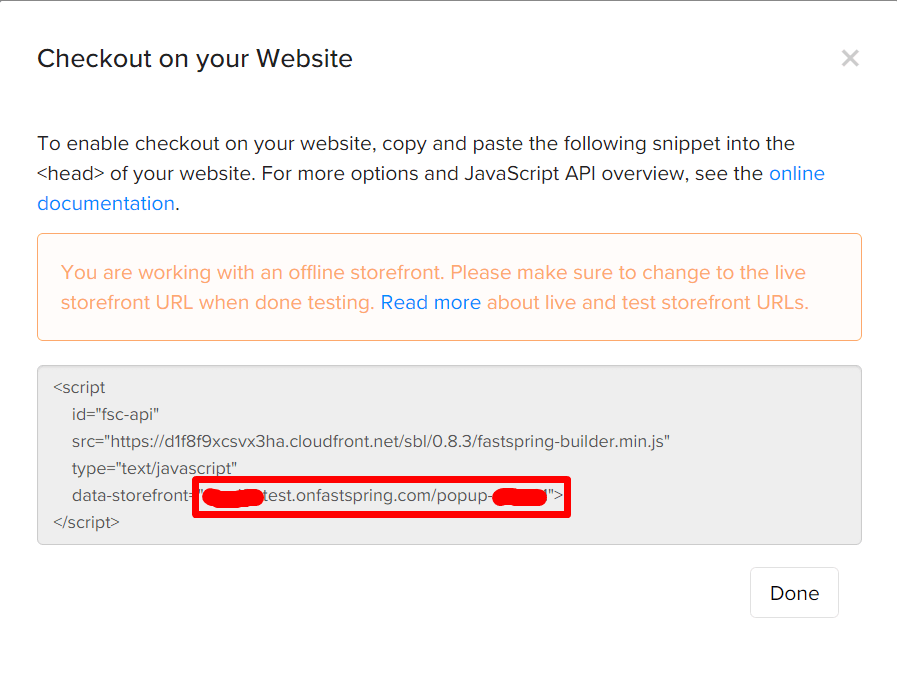
A popup will appear. From the pop-up, copy the URL from data-storefront just like the below screenshot.

Step 5: Paste the FastSpring Storefront path
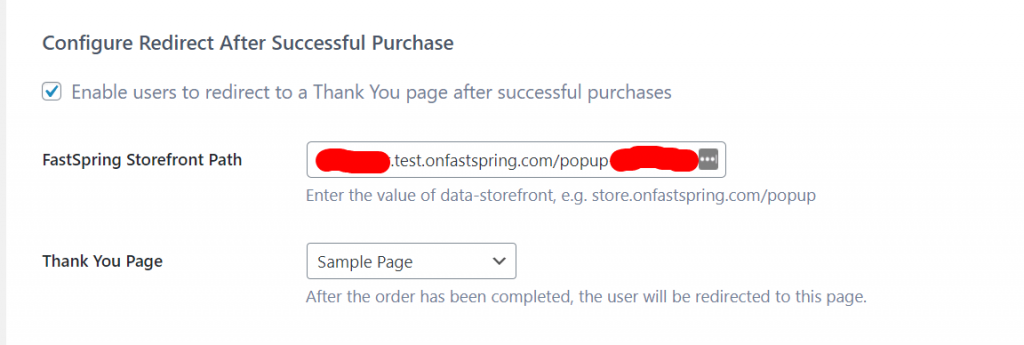
After you have copied the URL, go back to your store website. Again navigate to Dashboard-> Settings-> Appsero Helper, scroll down. In the Configure Redirect After Successful Purchase section, select the “Enable users to redirect to a Thank You page after successful purchases”.
Then, paste the URL from data-storefront to the FastSpring Storefront Path text box. And also select a Thank you page.

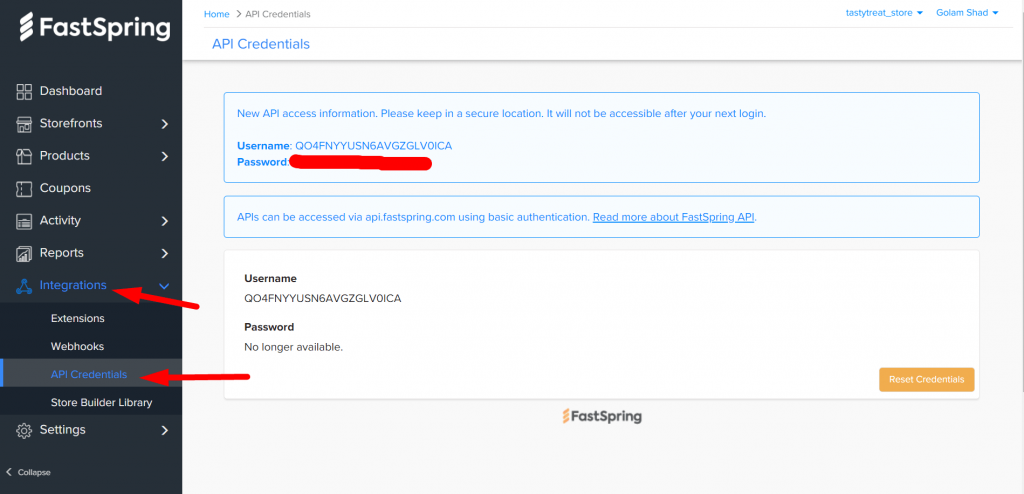
Step 6: Get API credentials
From your FastSpring account, copy the Username and Password. You will find that when you navigate to Integrations-> API credentials.

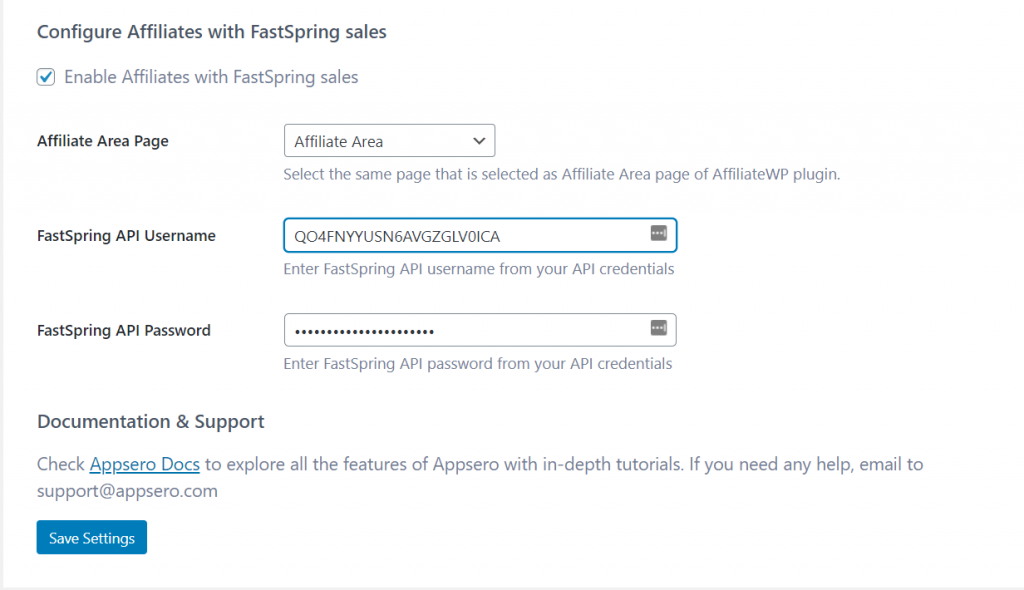
Copy the Username and Password in the Configure Affiliates with FastSpring sales section. Choose an Affiliate Area page. Save Settings to finish.

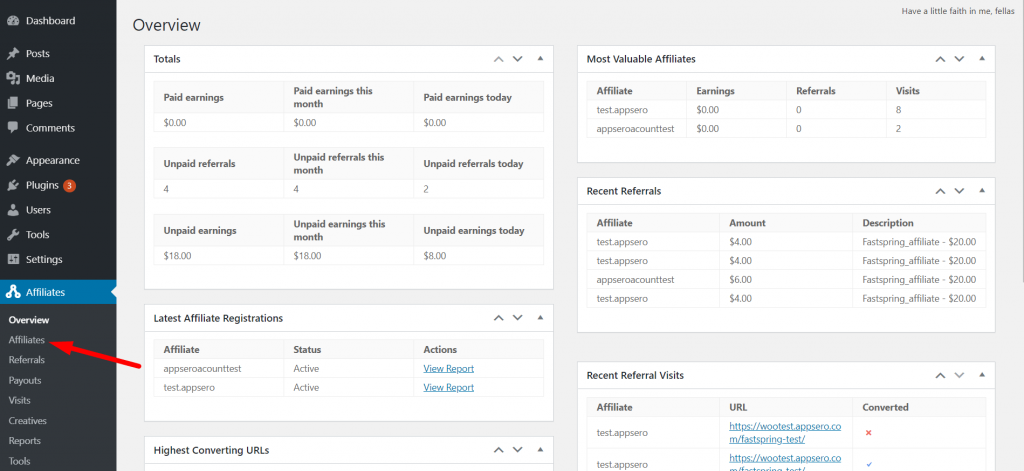
Step 7: Setup your affiliates
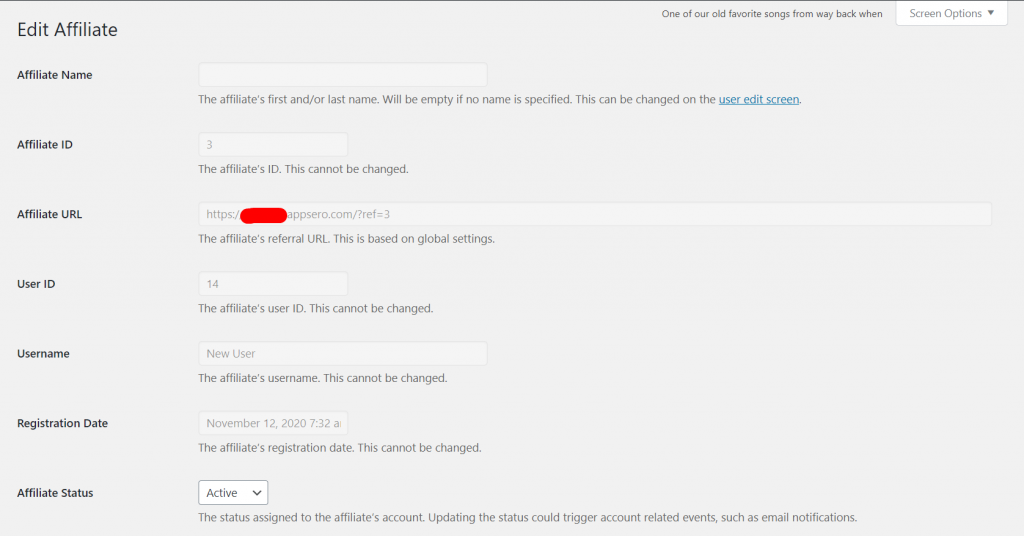
Add an Affiliate plugin to your website. Go to the Affiliates section.

Now, add a new affiliate user or take an existing user. After adding an Affiliate you will get an Affiliate URL.

Step 8: Add action point/button
You need to add an action point or button that will initialize the pop-up button from FastSpring upon clicked. Add a new page. And there paste this,
<a href=”#” data-fsc-action=”Add,Checkout” data-fsc-item-path-value=”fastspring-affiliate”>Purchase Product</a>

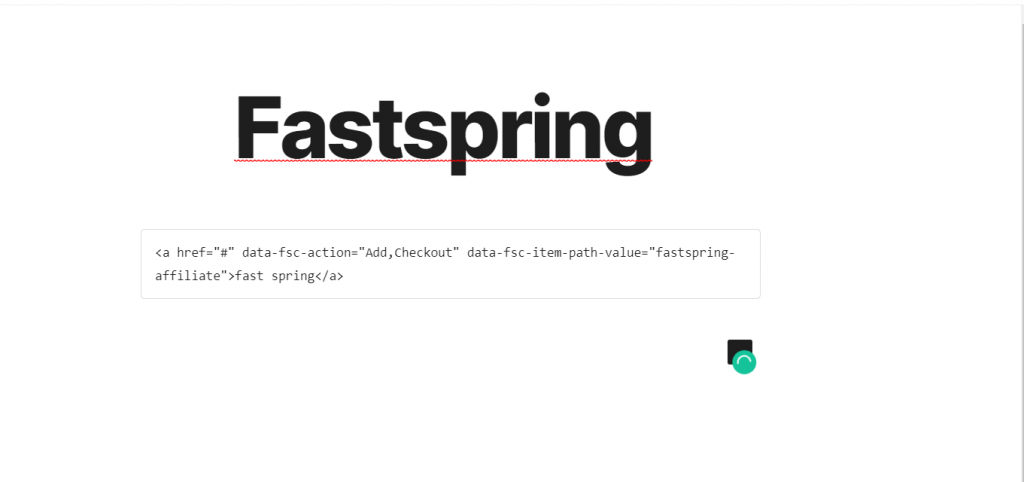
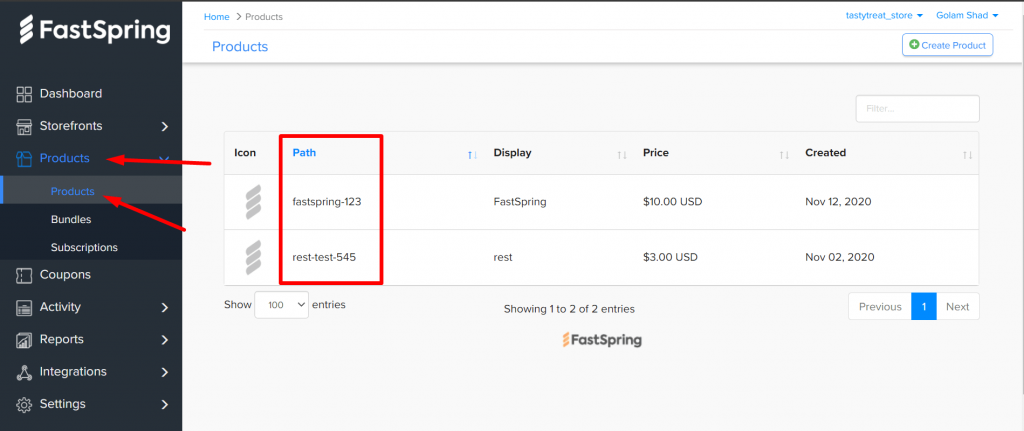
The data-fsc-item-path-value, you need to add the path value from your FastSpring account. You will find that when you navigate to Products-> products.

Step 9: Test the action point credibility
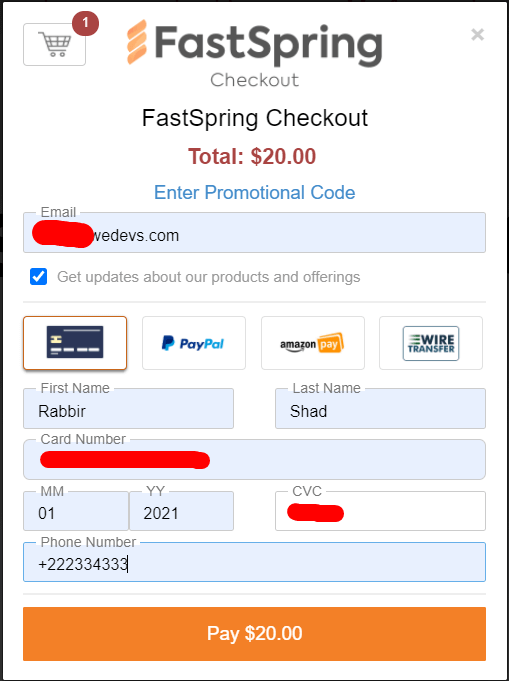
Now, when anyone will visit the page using the affiliate referral link, when they will click the action button or link,

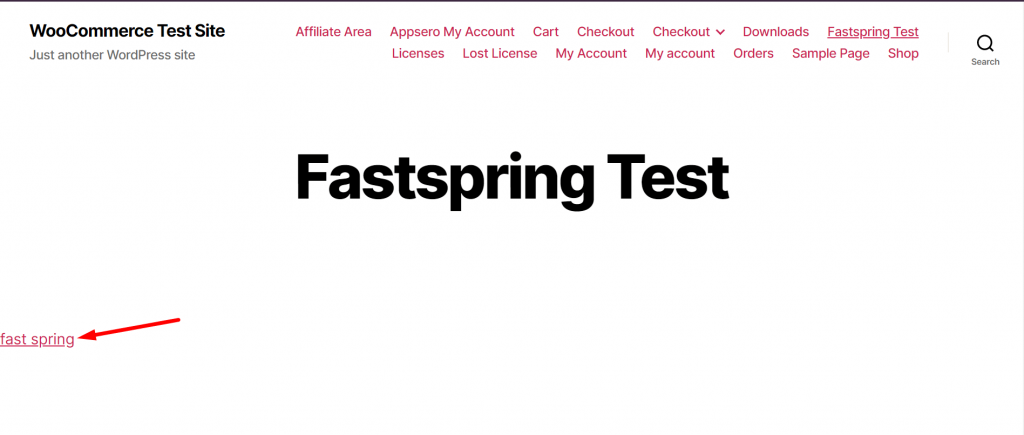
The FastSpring pop-up will appear. It will take the necessary credentials to complete the payment.

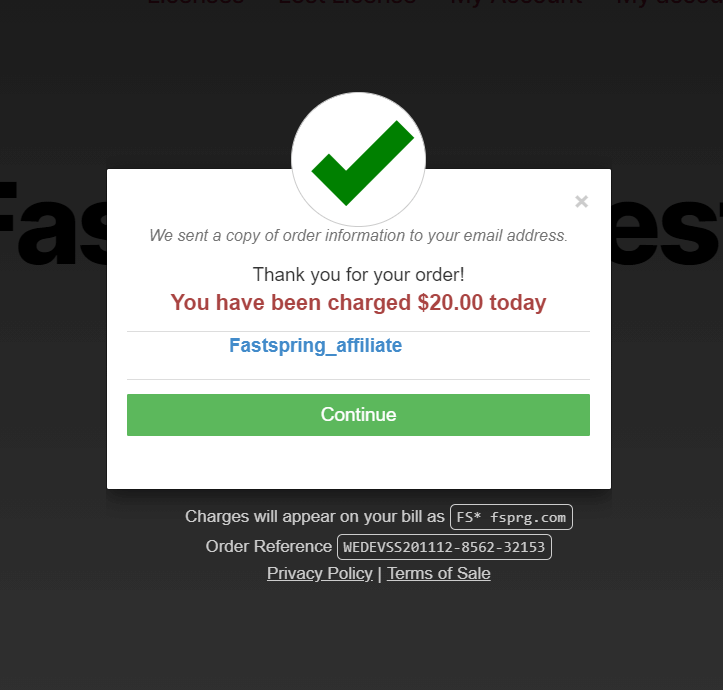
You will get a success message after successful completion of payment.

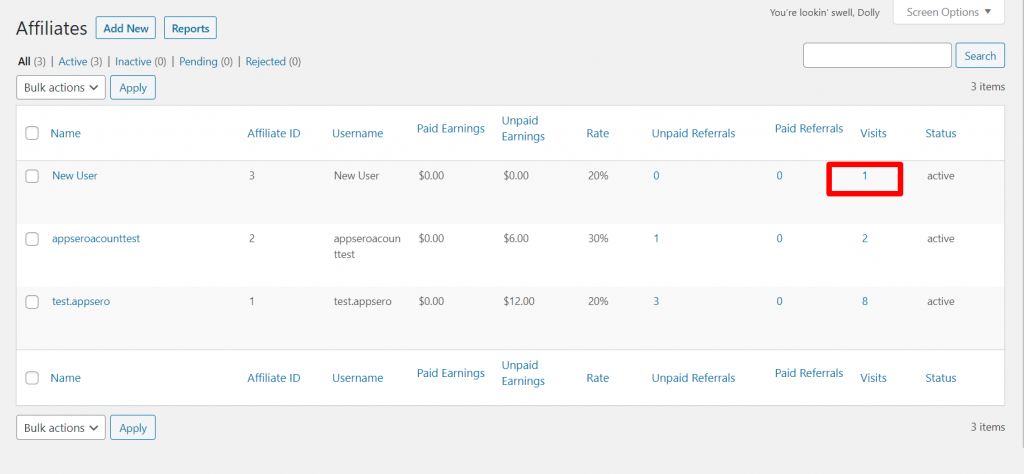
Step 10: You are done!
And if you go back to your list of affiliates, you will see how many click their referral link have got.

That’s it for FastSpring Affiliate feature of Appsero.

