9+ Steps on How to Build a Minimum Viable Product (MVP) Successfully
Creating a new product from scratch and getting it to the market through a big investment is always a gamble. This is why start-ups and established companies follow a better way to minimize risks and maximize returns. The concept is Minimum Viable Products (MVPs) development.
It allows entrepreneurs and businesses to test their ideas with minimal resources to evaluate the potential of their products in the market. If you aren’t familiar enough with this concept, no worries.
We’ll cover a detailed analysis of how to build a minimum viable product successfully, covering various other essential factors.
What is a Minimum Viable Product?
A Minimum Viable Product (MVP) is the version of a product that includes only the mandatory basic features to make it minimally usable. The primary goal of building an MVP is to let the product developer team test the product’s viability in the market and gather user insights.
In essence, an MVP serves as a prototype by which businesses can validate their assumptions, test hypotheses, and assess the market demand before investing significant time, money, and other resources.
After testing, if you find that your product does not have good market potential and customers don’t love it much, you can immediately stop its development. This not only can reduce the development cost but also save you from a huge financial loss.
What are the Purposes of Developing a Minimum Viable Product?
From the above definition, you can understand what the objective of Minimum Viable Product development can be. Even then, we will list some more significant MVP objectives in this section to grow your knowledge.
a. Quickly Introduce Your Product to the Market
Creating a completely new product from scratch is a long process. Often, prolonging can allow others to take the market. By releasing a minimal viable product, you can register yourself as the first mover in the market, which can help you hold a certain market share from the first day.
b. User Feedback and Validation
Every product developer wants to know firsthand whether customers will buy it or not. Releasing an MVP version can make it easy for them. Customers can also share if they need any further modifications to make the product more user-friendly. This can save them from unnecessary wastage of time and money.
c. Identify the Unique Selling Point
Comparing your MVP with competitors’ products in the market can provide you with clearer insights into where your products stand out. If certain features of the product get well-received by users, they could be your key elements of the unique selling point.
Steps on How to Build a Minimum Viable Product (MVP)
We are now in the main part of this post. You’ve to carry out a series of steps/works in this section to build MVP. Below is a list of the steps we’ll cover here.
- Step 01: Start with Market Research
- Step 02: Create a Buyer Persona
- Step 03: Map Out the User Journey
- Step 04: Define Product Idea and Value Proposition
- Step 05: List Minimum Features Needed to Develop
- Step 06: Build and Launch the Product
- Step 07: Create a Simple Landing Page
- Step 08: Position Your Brand Against Your Audiences
- Step 09: Evaluate Feedback
- Step 10: Keep Modifying the Product Based on Feedback
Let’s now get into the discussion and explore these steps.
Step 01. Start with Market Research

Before any product development, market research should be done to verify its viability. This can provide valuable insights into your target market, competitors, and industry trends. It helps you understand customer needs, preferences, and pain points.
To begin market research, you can start with identifying your target audience. Determine the demographics, psychographics, and behaviors of your potential customers. This will help you segment the market so you can tailor your MVP to specific customer segments.
You can conduct market research in various ways. You can go out for face-to-face interviews or use online survey forms and tools. If there are already some other versions close to your products available in the market, you can study their sales reports to gain ideas.
Step 02. Create a Buyer Persona
A buyer persona is a fictional representation of your ideal customer based on real market data. Buyer persona can help you understand your target audiences on a deeper level. It can also serve as a guiding framework throughout the product development process.
You can design features and strategies that are able to satisfy them. Here again, data gathered from market research can help you a lot in this regard. This is why creating a buyer persona should be the immediate next step after the market research.

Step 03. Map Out Users’ Journey
Mapping out the user journey is the process of understanding and visualizing the steps a potential customer takes, from the initial awareness of your product to becoming a satisfied customer. Identifying the key touchpoints can help grow your awareness, consideration, adoption, and retention.
You must mark out the channels through which you can reach customers and grow awareness. These channels could be through social media, emails, influencers, etc. Next comes the consideration stage. This is where customers deeply think about whether to buy the product or not.
You must figure out the pain points customers may face before finally buying the product. Even after launching the MVP, you can identify these pain points by looking at customer reactions that will help you in the final product development stage.
Step 04. Define Product Idea and Value Proposition
Hope your market research is already done by now. You have all the necessary information about the market and your customers’ pain points. According to the pain points, you have to brainstorm to develop potential solutions or product ideas that can solve the problem.
You have to judge the viability, feasibility, and desirability of each idea, aligning with your business goals, technical capabilities, and market demand. Next, craft a compelling value proposition, considering the key features and functionalities that make your MVP stand out from competitors.
To validate your product idea and value proposition, you can run a market survey again. You can do it on a smaller scale if you have budget limitations.

Step 05. List Minimum Features Needed to Develop
Any complete product is usually a collection of numerous features and functionalities. Developing all of them may often take a long time, which can delay your product launch. To avoid time waste, you can develop some core features and launch the product in the market as a free version.
And honestly, this free version is somewhat what we call the MVP. So, how do you select the core features? Here’s a list of parameters below you can follow –
- Create a feature roadmap
- Prioritize the must-have features
- Avoid the extreme-heavy features
- Check technical feasibilities
Based on these parameters, create a prototype or wireframes to visualize how the selected features will impact users after releasing the MVP. Through prototype testing, you can alter the initial features.
Step 06. Build and Launch the Product
Now is the time to build your product according to the ideas you generate. But remember, building and launching are the most critical parts of the minimum viable product (MVP) development. Because this part will turn your psychological ideas into real software (or tangible if they are physical goods).
So, how to approach the MVP build and launch strategies! You can follow the below approaches.
>> Develop a product roadmap: Outline the key milestones, features, and timeline for MVP so the entire development process can be broken down into manageable tasks.
>> Adopt an agile development methodology: Agile methodologies like Scrum or Kanban can help you break down the process into smaller tasks and prioritize the ones that carry much importance.
>> Build the core functionality: Focus on developing the core and initial features that you listed based on the priority to be released early.
>> Quality assurance testing: Perform quality testing to check if there is any bug. Fix them and run the text again to ensure there are no unsolved issues.
>> Soft launch product: A soft launch refers to releasing a product only to a limited audience. Because if the initial free version is launched to mass people and receives bad impressions, this can seriously impact your market value, even if you further develop it later.
Step 07. Create a Landing Page
If it’s a software product, how would you introduce it to customers without a landing page? Even physical products today require a landing page, as eCommerce has taken the world by storm. Here’s a post you can follow to learn how to create a landing page with Elementor.
Below are things mandatory for a landing page.
- Craft clear and concise copies that trigger visitors to use your products
- Create an eye-catchy design that comforts visitors
- Add call-to-action (CTA) buttons let users to execute desired actions
- Make the landing perfectly responsive for all devices
- Improve your SEO score so Google loves to rank your page
- Do A/B testing before making the page live
Step 08. Position Your Brand Against Your Audiences
Positioning your brand against your target audiences means you must make your brand recognizable to your audiences in such a way that answers to their appeals. A brand is a set of promises that are ready to resolve the problems of the market people. Explore the 10 best brand monitoring tools.
Hope we don’t need to write many words at this point. Because you are already supposed to complete the market research, create the buyer persona, and map out users’ journey. Now, you have to implement the brand and marketing according to the plan and data you have.
Step 09. Evaluate Feedback
This is another crucial reason for developing and releasing the MVP. You must keep all the possible doors open so users can submit their feedback as much as they can. If your MVP version is good, you can definitely expect many good reviews as well.
What’s next? Categorize the feedback with separate tags so you can easily sort them later. Prioritize the feedback according to their importance. Thus, bring improvements to your products and feature development.
Step 10. Keep Modifying the Product Based on Feedback
We have nothing to say more at this point. As we’ve already said above, keep developing your products based on the feedback you have received. What you need to do additionally in this step is communicate with your stakeholders and internal teams to ensure the essential resources are available to uphold the development process.
Deploy Your WordPress MVP Using Appsero
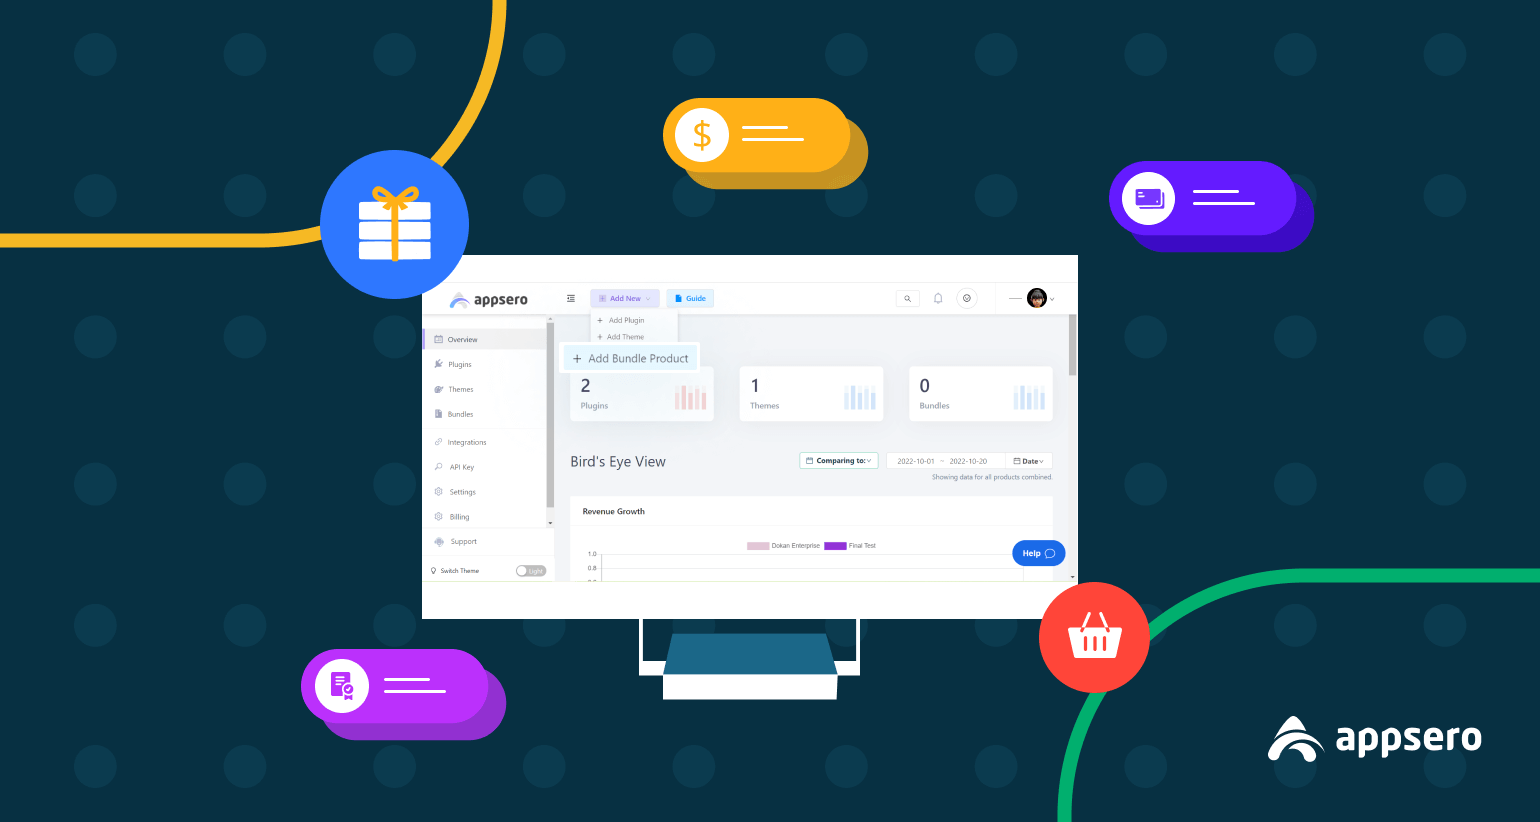
Appsero is a software licensing tool. It helps simplify the deployment process by allowing you to automatically push and release the updated versions of your WordPress themes and plugins. As the primary reason for creating an MVP is to test the validity of your product idea, you can use Appsero analytics and various other features to gather valuable feedback for data-driven decisions.
Appsero has the ‘Push to Deploy.’ It automatically deploys new versions of your plugin or theme from GitHub, GitLab, or Bitbucket. This can save you a lot of time and the manual deployment process. You can deploy your products on platforms like WordPress.org, Envato, paddle, and FastSpring.
Here’s a short tutorial on how to deploy MVP with Appsero from Github to WordPress.org.
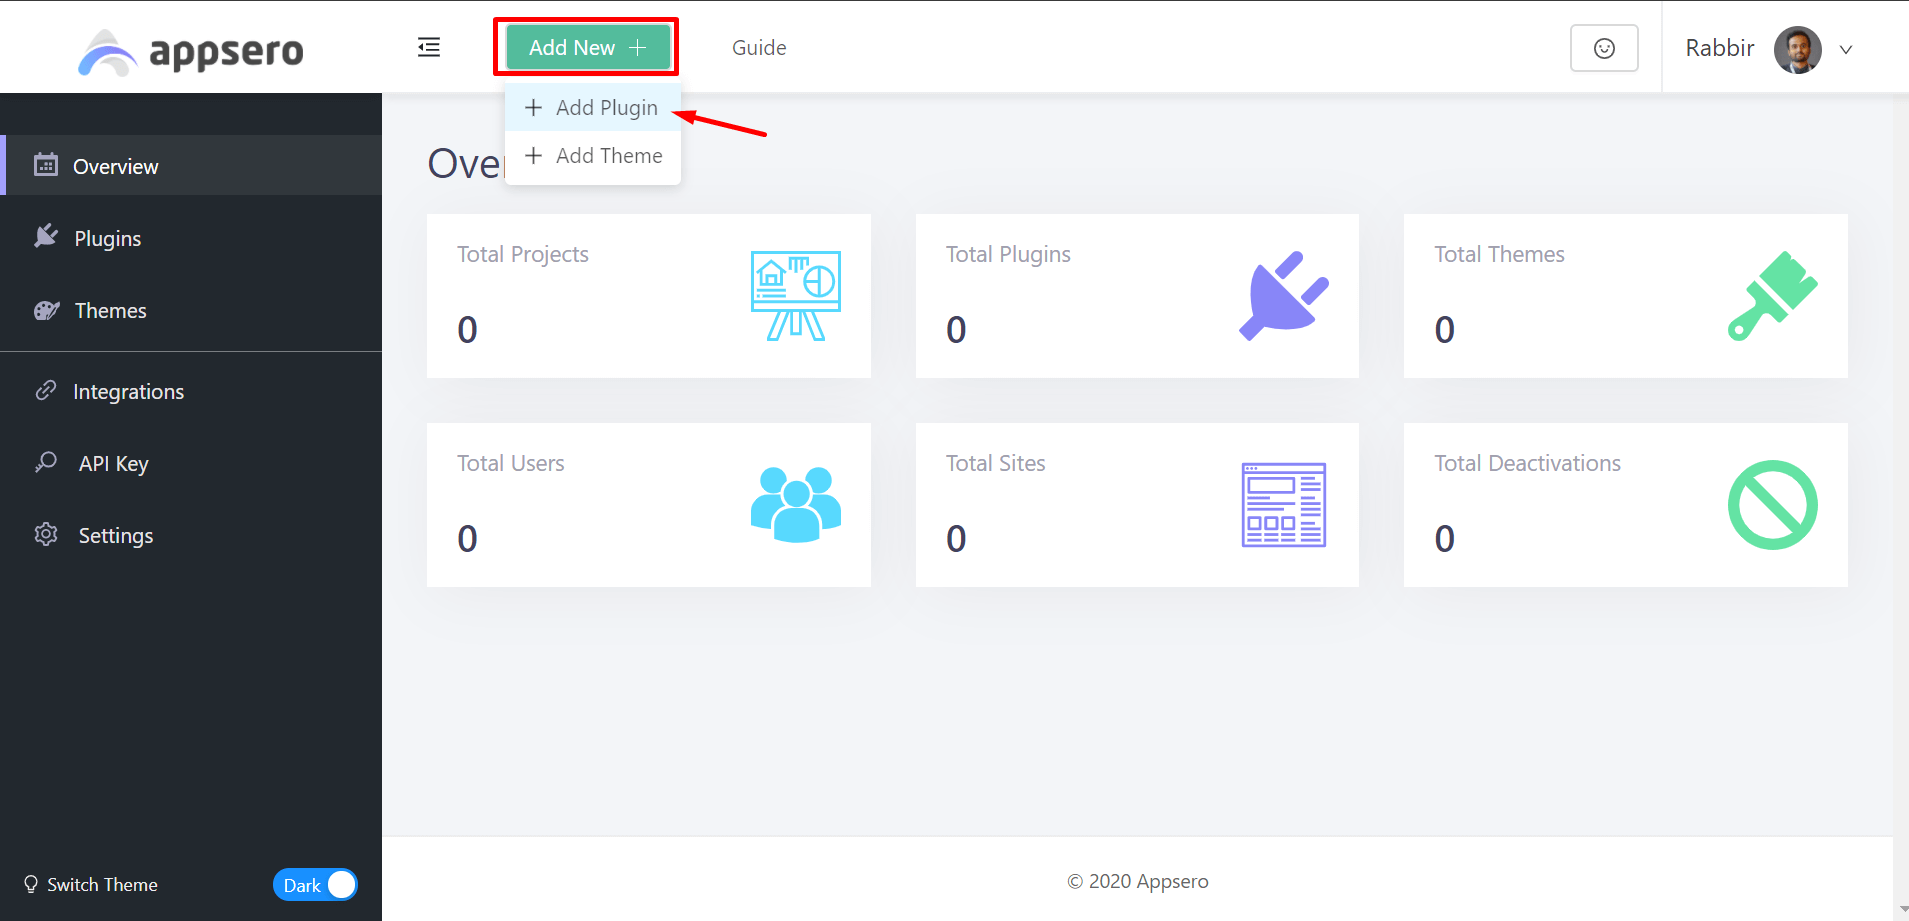
Step 01: Create a New Project
First, you have to create an account in Appsero. After that, you have to add the plugin or theme that you want to deploy. This part is defined as the project creation process. Here’s the doc on how to add new plugins and themes to Appsero.
Step 02: Connect Your Appsero Account to GitHub
Log into your Appsero account. Go to the Integrations option. You can deploy your MVP and their updates using Github, GitLab, and Bitbucket. Click the Connect button next to GitHub to connect it to the Appsero account.

Step 03: Connect to WordPress.org
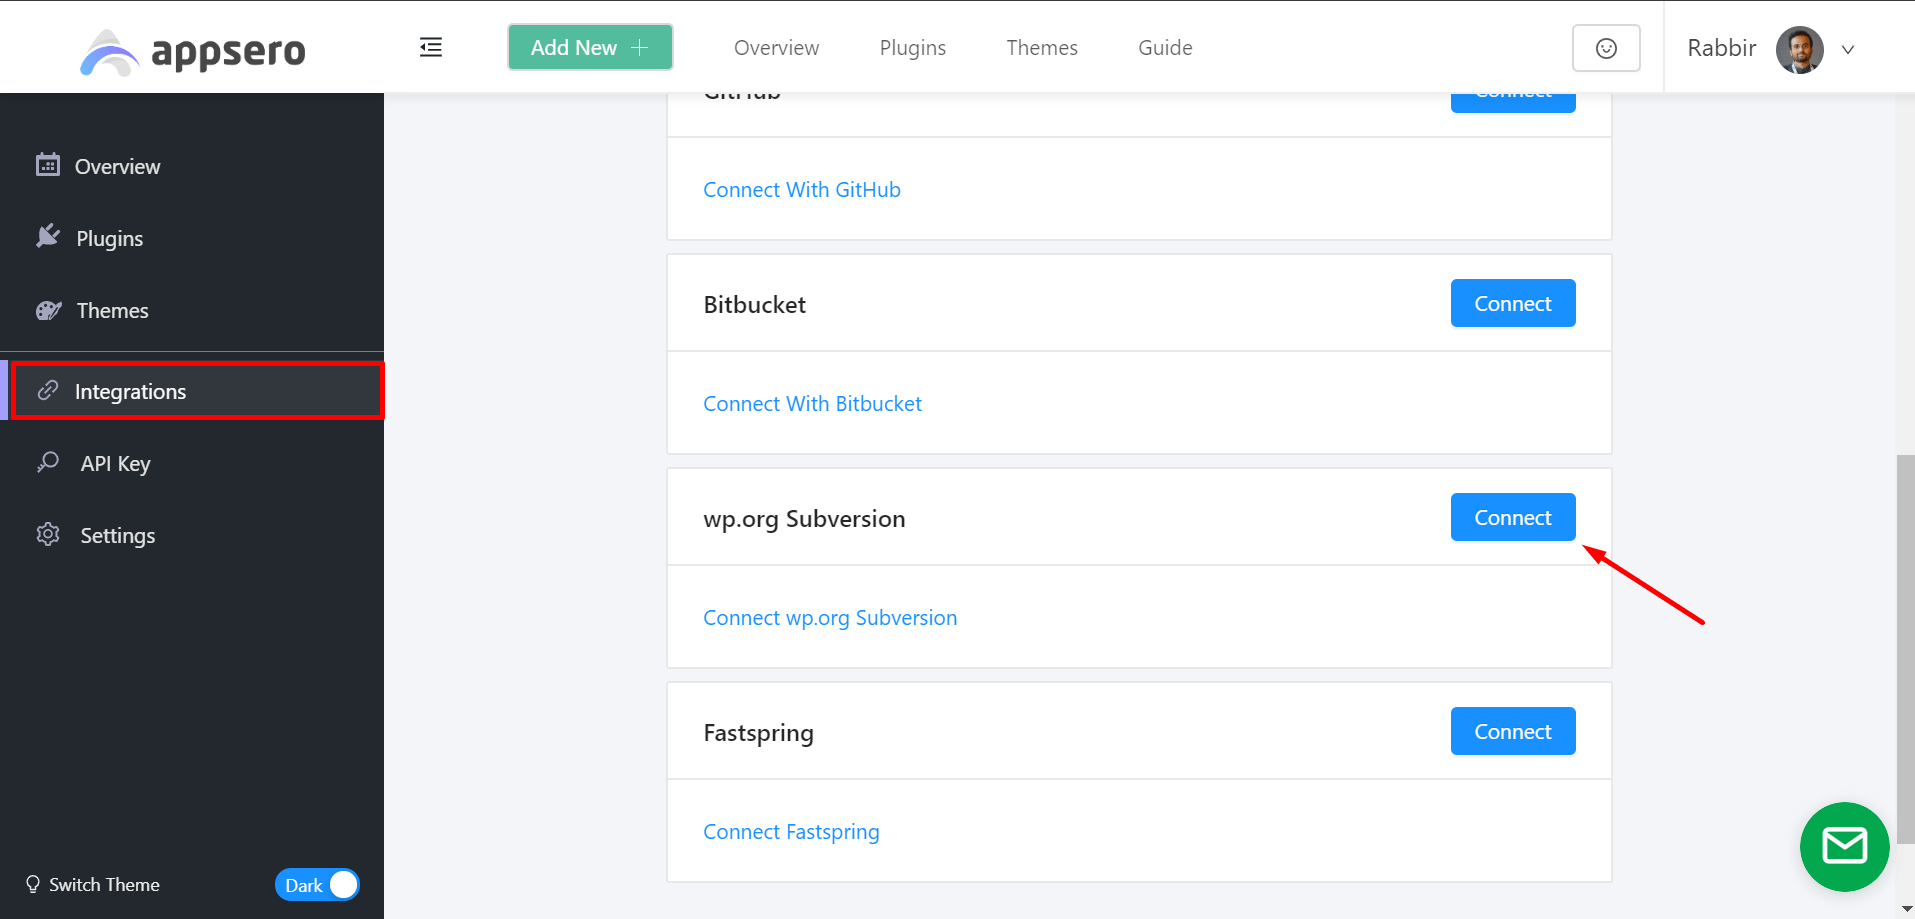
As WordPress.org is a popular and reliable platform to let people use free new products, you must release your MVP on this platform as well. For this, you must connect your Appsero account with WordPress.org as well.
Scrolling down the integration page a bit, you’ll find the wp.org Subversion option. Click the Connect button to add it to your Appsero account.
Step 04: Push to Deploy
After connecting Github and WordPress.org, you can use the ‘Push to Deploy’ feature in Appsero. This feature will allow you to directly deploy the new versions of your MVP from GitHub. The following video will explain to you in detail how to use this feature.
Step 05: Notifications and Analytics
Appsero offers an updater that automatically notifies users across all your channels, including WordPress.org releases and private releases. It also provides analytics on a whole new level, allowing you to gather data for the betterment of your plugin or theme.
Our Last Suggestions!
We are now at the end of this educational post. Hope you enjoyed it well. But before ending, we want to warn you again, never try to add too many features in MVP. Because you’ll fall into a dilemma afterward wondering what exciting features to add in the premium version of the plugin.
So, don’t forget to keep a good amount of resources for the premium version. At the same time, be mindful of the design and usability of the MVP so it doesn’t impact the user experience. Let us know your feedback about this post in the comment section below.
Subscribe To Our Newsletter
Don’t miss any updates of our new templates and extensions
and all the astonishing offers we bring for you.


