Are you struggling with the file upload size limitations on WordPress?
Whether you’re a blogger, developer, or multimedia enthusiast, running into the ‘maximum upload file size limit in WordPress’ can be a real annoyance. But fear not! In this article, we’ll walk you through how to increase the maximum upload file size in WordPress with viable guides and steps.
By following these steps and guides, you can easily overcome file size restrictions in WordPress and elevate your upload game. Let’s start with the explanation of what maximum file upload size means in WordPress.
What is the maximum upload file size in WordPress?
The default upload file size set by WordPress is 2 MB. But beyond this, hosting companies can also set another upload size, which can be smaller or larger than the default upload size specified by WordPress.
It’s worth noting that even if your hosting provider allows larger file uploads, there may be additional limits imposed by PHP settings, server configurations, or other factors.
As a result, you need to modify the PHP configuration (php.ini file) or use a plugin to increase the maximum upload file size in WordPress.
Why you may need to increase the maximum upload file size in WordPress
There are several reasons why you may consider increasing the maximum file upload size in WordPress. Here’s a brief list of the possible causes:
- Content richness: Enhance your posts with high-resolution images and multimedia for a more engaging experience.
- Theme and plugin requirements: Larger themes and feature-rich plugins may demand a higher upload limit for optimal performance.
- E-commerce demands: Manage product images and bulk product data seamlessly with an increased upload size.
- Video content: Embed large videos directly on your site for a more dynamic multimedia experience.
- Membership and learning platforms: Facilitate the upload of course materials and user submissions, including files.
- Customization and development: Easily handle large theme/plugin files and custom code uploads.
- Third-party integrations: Seamlessly integrate services that necessitate larger file uploads for enhanced functionality.
How to check the current limit of file upload size
Before making any changes to your website’s maximum upload size, you must first check its current limit. If you find that the existing limit isn’t sufficient for your needs, you can increase the limit. You can use any of the following methods to check the current upload size limit of your WordPress site.
Method 01: WordPress Dashboard
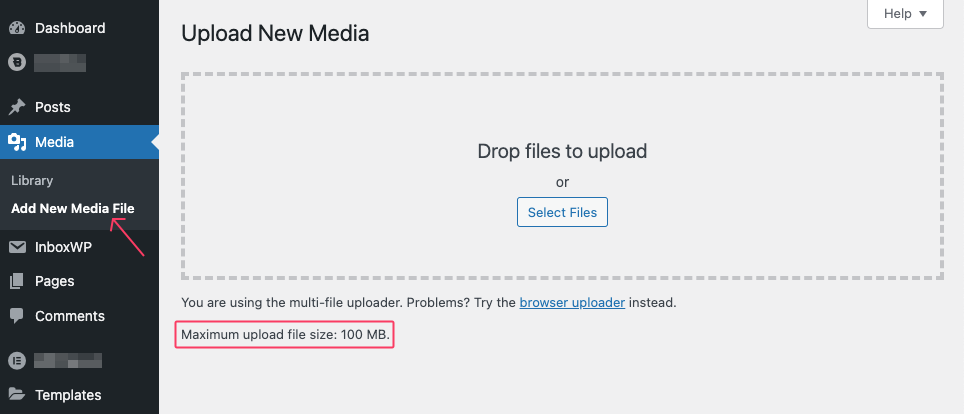
This is the easiest way to check the current upload file size limit of any WordPress site. Log in to your WordPress admin dashboard. Navigate to “Media” and click on “Add New.”
Below the upload area, you should see the maximum file size limit specified.
Method 02: Hosting control panel
Check your hosting control panel (cPanel, Plesk, etc.). Next, proceed with the following step-by-step methods.
Log in to your hosting control panel. Look for a section related to PHP settings or PHP configuration.
Find and check the values for upload_max_filesize and post_max_size
Important note:
If you’re unable to find this information using the methods above, your hosting provider may have restrictions. In this case, you might need to contact them directly for assistance or refer to their documentation.
How to increase maximum upload size in WordPress manually

There are many users who prefer to keep their websites lightweight by avoiding the use of too many plugins. This section is mainly for them. Here, you’ll come to learn how to increase maximum upload file size in WordPress without using any plugins.
Step 01: Modify the existing value in the PHP INI Editor
If you are on a shared hosting plan, you might not have direct access to the php.ini file. In that case, contact your hosting provider for assistance.
If you have access, find the php.ini file on your server. Common locations include the Software section of the cPanel. Log in to your control panel and locate MultiPHP INI Editor.
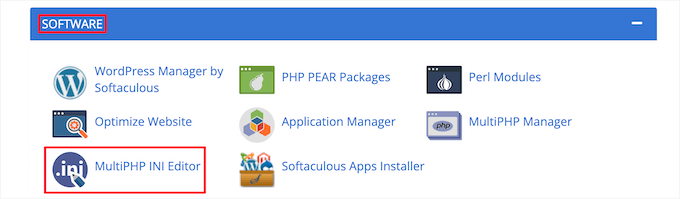
Then scroll down to find the ‘upload_max_filesize’ label and set these values to your desired maximum file size (i.e. 100M). The ‘M’ stands for megabytes. Hit the Apply button to save changes.
Step 02: Edit the WordPress .htaccess file
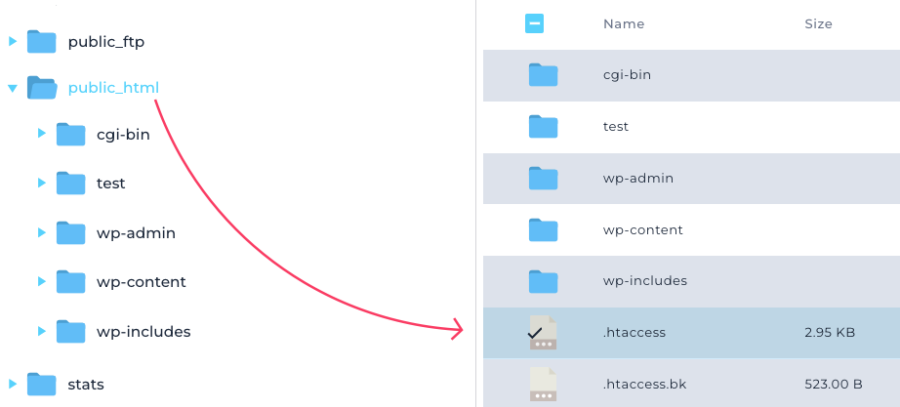
Go to your cPanel, navigate to the File Manager menu, and open the public_html file.
Locate your .htaccess. This file is often found in the root directory of your WordPress installation.
Open the .htaccess file in a text editor. Then, add the following lines at the end of the file:
   php_value upload_max_filesize 100M
   php_value post_max_size 100M
   php_value max_execution_time 300
   php_value max_input_time 300
To boost your maximum file upload size further, just replace the ‘100M’ with your desired size. Adjust the values as needed. Finally, save the .htaccess file.
Note: If locating your .htaccess file proves challenging, it might be hidden by your file manager or FTP client. In that case, you need to change the server settings and allow it to show hidden files.
Step 03: Edit theme functions file using Theme File Editor
In some cases, your theme’s functions.php file may also influence the upload limit. Go to your WordPress admin panel and navigate to Appearance > Theme File Editor > Theme Functions.
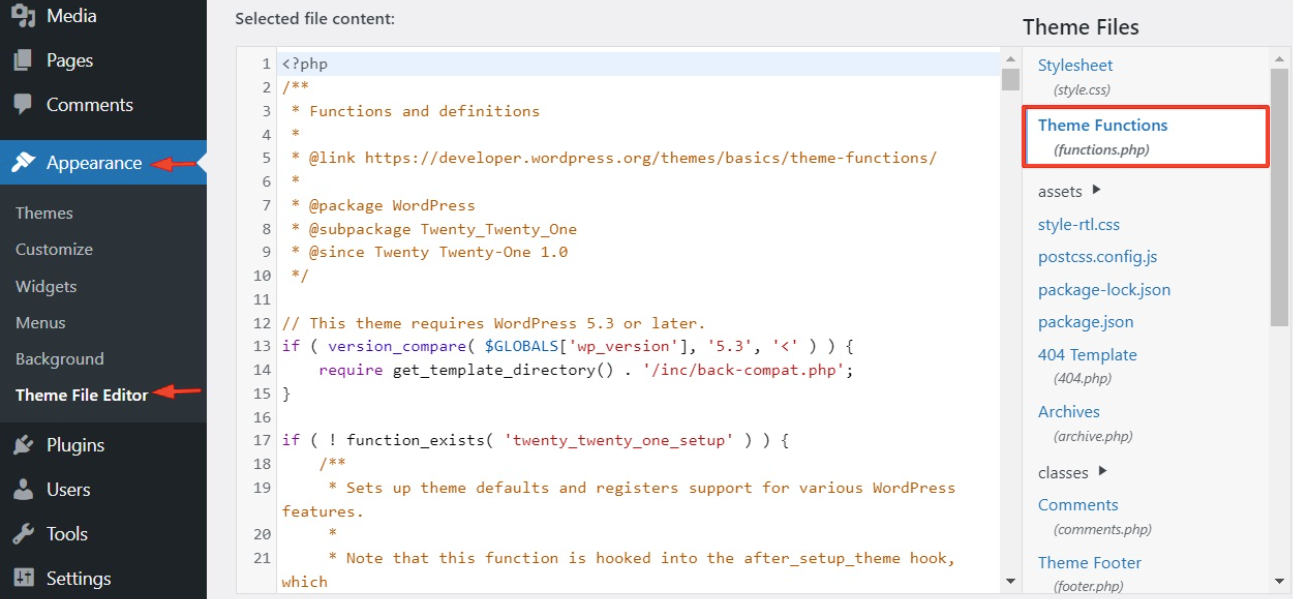
Add the following code to functions.php:
   @ini_set( 'upload_max_size' , '100M' );
   @ini_set( 'post_max_size', '100M');
   @ini_set( 'max_execution_time', '300' );
Don’t forget to adjust the values as needed. Save the functions.php file once you’re done.
Note: You may find the Theme File Editor option missing under the Appearance menu. The probable reason is your wp-config.php file isn’t allowing you to edit the functions file. Access your wp-config.php file in WordPress.
Open it with a text editor. Find the line that reads: define('DISALLOW_FILE_EDIT', true). Once you’ve identified it, just modify the value from “true” to “false,” then click on Save & Close. You’ll see the Theme File Editor now.
Things you should keep in mind:
- Ensure that you have a backup of your files before making any changes.
- If you’re not comfortable editing these files, consider asking your hosting provider or a developer for assistance.
- Keep in mind that some hosting providers may restrict the ability to modify certain settings.
Also read: How to Fix WordPress Website Not Loading Issues (12 Pro Tips)
How to increase maximum upload file size using a WordPress plugin
Again, there are many users who find it hassling to handle all the website settings manually. No worries if you are one of them. You can increase the upload file size limit using any suitable plugin as well. This section will demonstrate this to you.
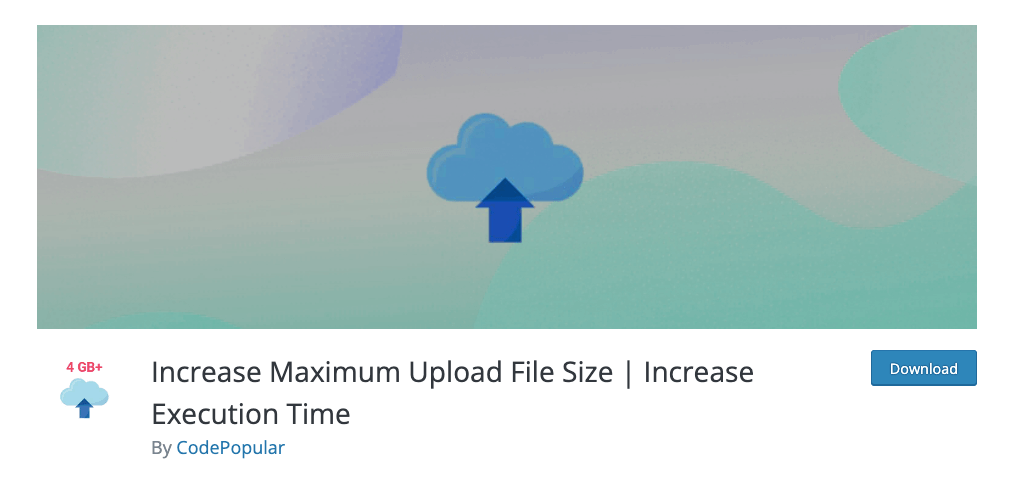
Step 01: Install the Increase Max Upload File Size plugin
Go to your WordPress dashboard. Navigate to Plugins > Add New. Search for “Increase Max Upload Filesize.” Install and activate the plugin.
Step 02: Configure the plugin
Once activated, go to Media > Increase Upload Limit. You will see options to set the maximum upload size. Adjust the values by choosing from the dropdown options. Save the changes made in the plugin settings.
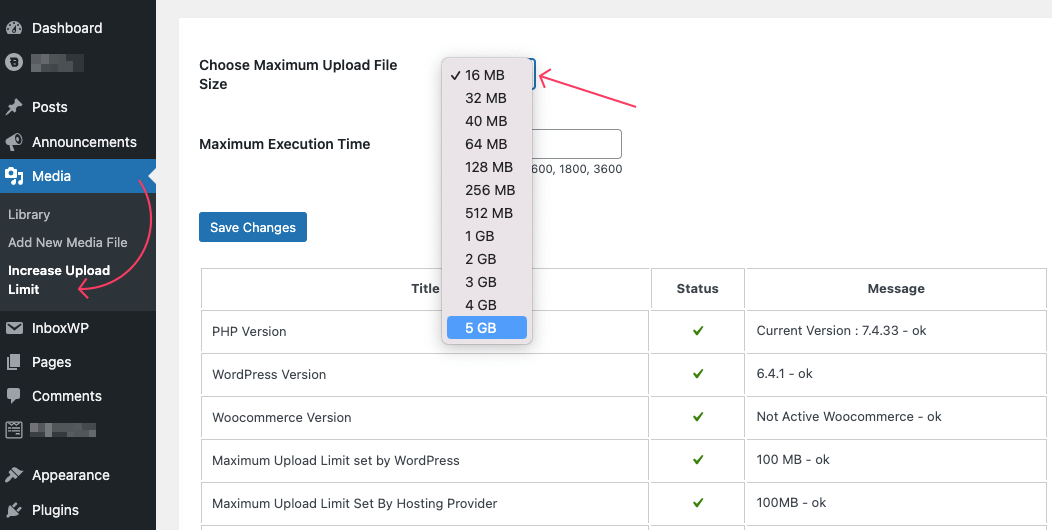
Currently, this plugin allows you to set the maximum limit up to 5GB. It simplifies the process by providing a user-friendly interface to adjust the upload file size limits without manually editing configuration files.
Verify that the new file upload size is working correctly
To verify that the new file upload size is working correctly in WordPress, you can follow these steps:
1. Attempt to upload a large file
Go to your WordPress dashboard. Navigate to Media” and click on “Add New.” Try uploading a file that exceeds the previous file size limit. After the upload, go to “Media” and check the library to ensure the file is listed. Confirm that the file size matches your intended new limit.
2. Test different file types
Upload files of different types (e.g., images, videos, documents) to ensure consistency. Confirm that the new limit applies to various file formats. Your task is complete if everything looks fine after these two steps. If your new limit isn’t implemented, then you should contact your hosting provider.
3. Check with your hosting provider (if any issue arises)
If you encounter issues or your changes don’t take effect, it’s important to check with your hosting provider. Hosting providers often have server-level restrictions and specific configurations that may impact the maximum file upload size. They can provide guidance on the appropriate steps to take and whether any server resource considerations need to be addressed.
Maximizing the file upload size: considerations and best practice
Now you know how to increase the maximum upload file size in WordPress. No matter which method you follow, the following list of best practices will help you complete the steps without impacting the live site.
- Backup your site: Before making changes, create a full backup of your WordPress site to ensure you can revert to a stable state if issues arise.
- Check browser compatibility: Test file uploads using different web browsers to ensure consistent behavior across platforms.
- Monitor server resources: Confirm that your server has enough resources to handle larger file uploads without impacting overall performance.
- Check for error messages: Monitor for any error messages during the upload process.
- Check theme and plugin compatibility: Verify that the increased upload size does not conflict with your theme or plugins.
- Test on different devices: Check file uploads from different devices, including desktops, laptops, and mobile devices.
- Choose the right methods for you: Select a method for increasing file upload size that aligns with your technical expertise, whether it’s manual configuration or using a plugin.
Ensure seamless file uploads on WordPress sites with FlyWP
This is a brand-new solution that has recently drawn significant attention and interest across the WordPress ecosystem. weDevs introduced FlyWP– a WordPress server management system to help you control every server-related thing from a single dashboard.
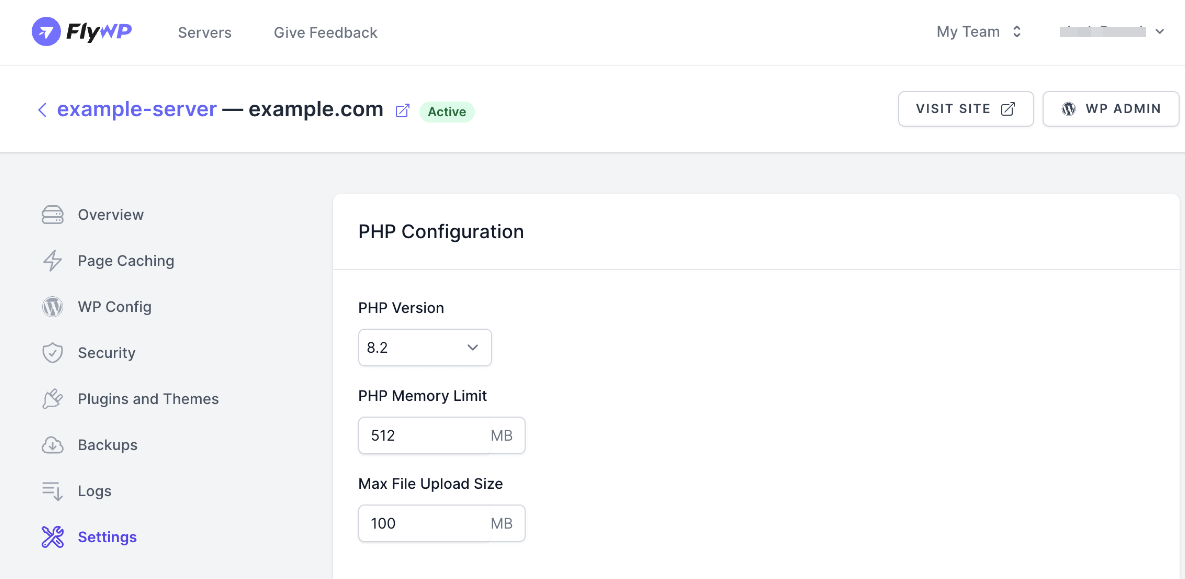
It lets you configure the settings using a GUI, devoid of the use of complex code snippets. Simply, navigate to the Settings menu from the right sidebar and change the Max File Upload Size as per your preferences. You can learn more about how to use FlyWP from its documentation section.
And there you go! Your WordPress uploads are now on the express lane— no more size restrictions to hinder your progress. So, moving forward, feel free to upload large files without a care.
Subscribe To Our Newsletter
Don’t miss any updates of our new templates and extensions
and all the astonishing offers we bring for you.

If you don’t want coding, directly increase max upload size through the free plugin: Max upload filesize by ZISCOM.
After installation go to WordPress menu ‘Max Upload Size’ * Only enter the numeric value in bytes * 1024 bytes = 1KB * 1048576 bytes = 1MB
It worked for me. Hope it help for you.
Thanks Joy.
We hope this alternative method will work as well.