
How to Add Stripe to WordPress for Selling Plugins and Themes with Appsero
Setting the payment gateway is one of the crucial factors in the plugin or theme business. We know that PayPal is the most used way of online money transaction (361 million users).
There is another popular gateway that is also demandable for online marketing- Stripe.
For being cool and user-friendliness, Stripe has earned the reliability of people.
To make the payment barrier-free, you should also integrate with Stripe.
Here, we will show you the simplest way of how to add Stripe to WordPress for selling your WordPress product.
Unknown Facts about Stripe
- 1.96 Million active websites using Stripe.
- Has $2.55 Billion funding.
- $95 Billion current value.
- Elon Musk is one of the investors.
- Available for 44 countries.
A bit about Appsero
Are you familiar with Appsero? If not then you must know as it is one of the best tools for WordPress developers. This analytical tool assists the software owners to manage their digital product like theme or plugin.
The facinating and one of our favorite feature of Appsero is 3x faster auto deployment. At the same time its time saver and hassle free.
The easy license management and quick insightful overview have made it more desireable to our customers (most of them are developer).
How to Sell WordPress Products with Stripe in Appsero
To use the Stripe payment gateway, you must have a Stripe account. You can create a Stripe account at no cost. The testing is free as well.
For setting up the Stripe, you will need to install EDD (Easy Digital Downloads).
The rest of the steps are described below-
Step 1: Enable the Stripe Payment Gateway
Navigate to the general settings of EDD.
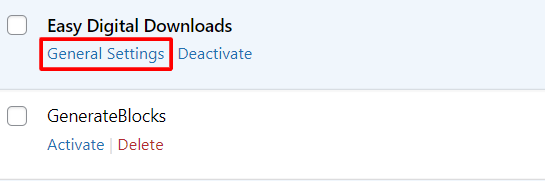
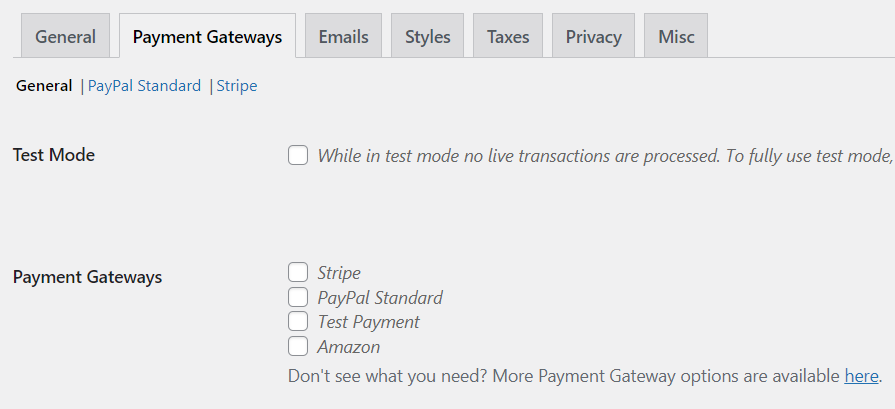
You will now see different types of options, just click on the Payment Gateways and enable the Stripe.
Step 2: Select and Connect Stripe Gateway
Now you can see a Stripe sub-tab, after clicking it there will a button appeared name Connect with Stripe.
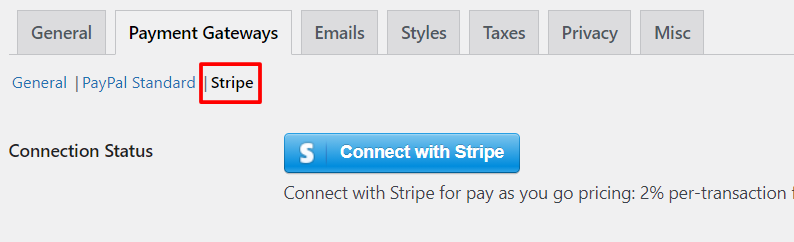
Just click on it and this will directly lead to you the Stripe website. Forthwith, you can log in to your existing Stripe account (if you have any).
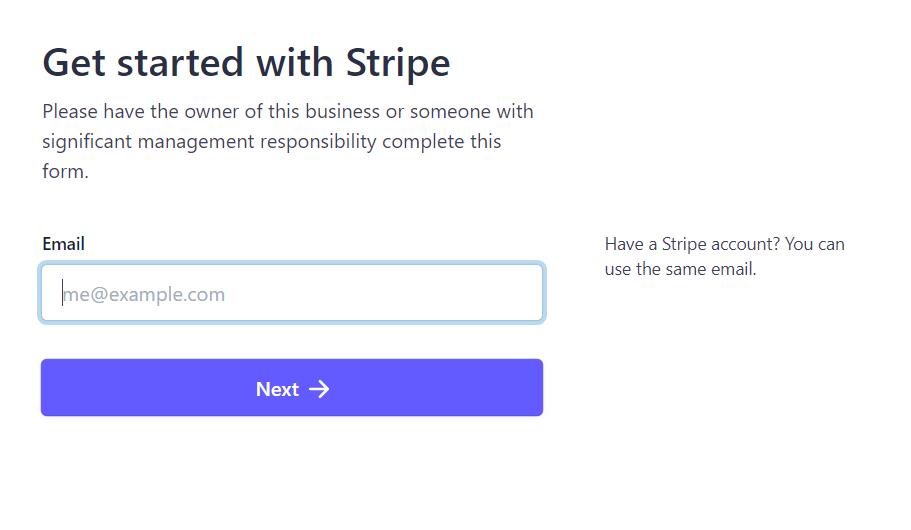
Then you will need to enter OTP (One-Time Password) code. You will get this code on the number you have given while opening Stripe.

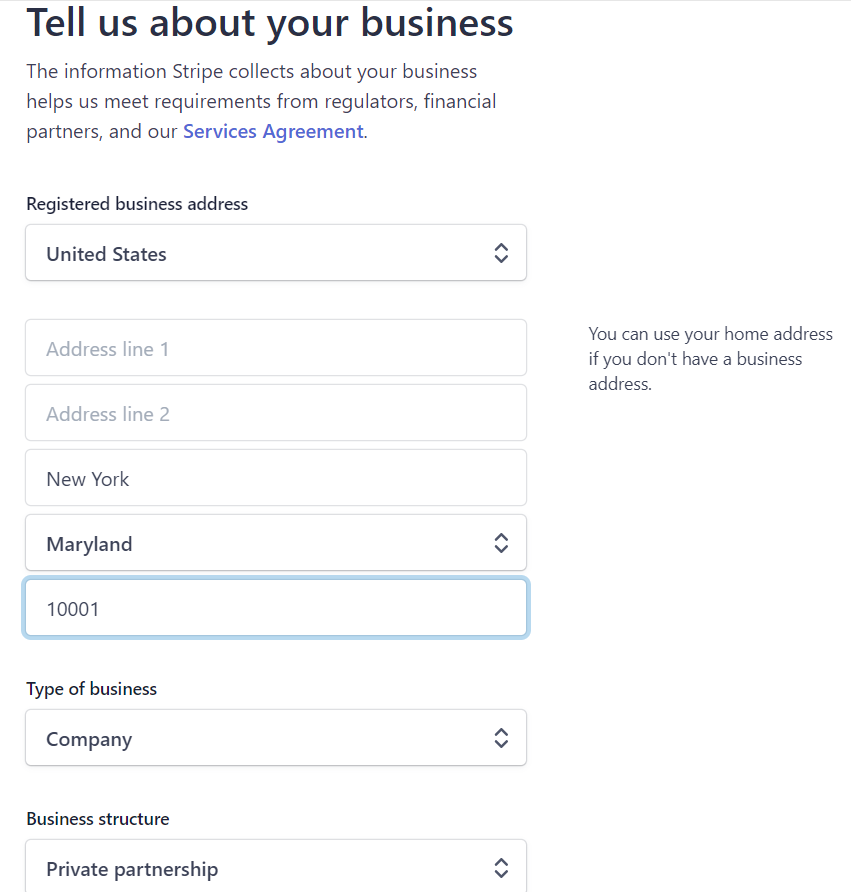
Then you can connect the Stripe account and fill up all the essential data of your business.
Step 3: Configure Webhook Properly
One of the amazing facts about Stripe is, it can identify refunded acquisitions in your account. That purchase is marked as refunded in EDD as well.
For you, EDD produces a webhook. You have to just notify where it is to Stripe.
So, if you are failed to configure that webhook or it gets blocked somehow, the auto refund detection will not work anymore.
From your Stripe dashboard navigate to Developer> Webhooks and add webhook endpoints correctly.
It’s better to have 2 webhook endpoints, one for live mode and another one for test mode. Follow the below process, if you have created both.
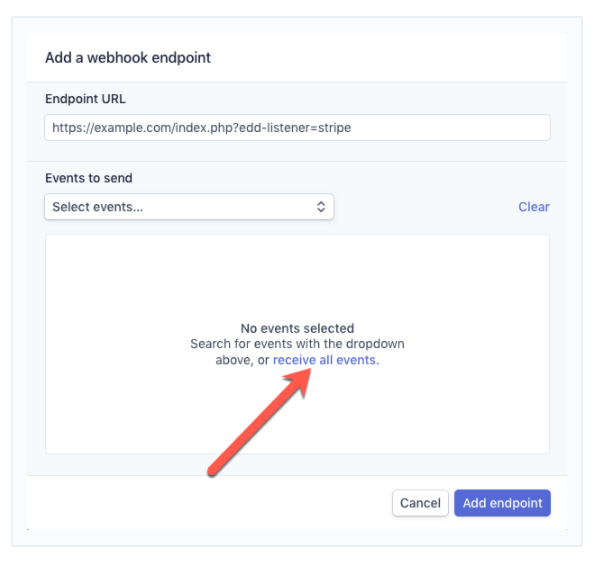
Add the below URL after clicking Add Endpoint.
https://example.com/?edd-listener=stripe[Add your actual URL instead of example.com. You can get the accurate URL in your WP admin under Downloads> Settings> Payment Gateways> Stripe.]
From our perspective, you should select receive all events because EDD will need to interact with your website to use the likewise webhook endpoint.
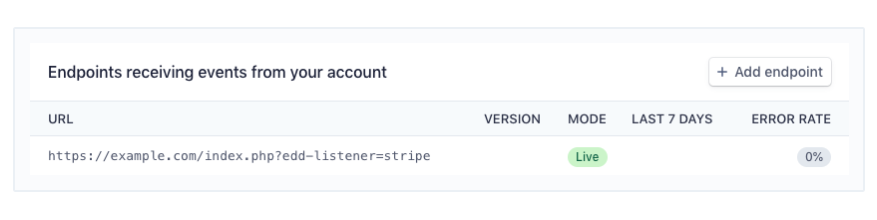
Have you added the endpoint? If yes, then you should notice the new URL listed in the webhooks settings.
Point to be Noted: These webhooks won’t work in a local development environment like- WAMP, MAMP, Vagrant, Local by Flywheel, or Desktop Server. Stripe can’t reach them because they are non-publicly accessible IP addresses.
Step 4: Integrating Stripe Recurring Payments
Stripe payment gateway excellently supports recurring payment and they have an extension on it.
Check out the Recurring Payment Setup of Stripe and follow their directions.
Additional Features of Stripe
You can see the detailed additional settings and features right below.

Billing Address Display
There are 3 billing details-
- Full Address: This will add the complete address form (including country, city, street, state, and zip or postal code).
- Zip or Postal Code and Country Only: It means, This option will appear in an uncomplicated address form which will demand only for zip or postal code and country.
- No Address Fields: No address displayed.
Billing Address Notes
There are 2 notes.
- Fraud Note: It tells you to collect at least the zip/ postal code and country to diminish fraudulent charges.
- Taxes Note: The Full Address option may be needed if you are under the tax. It requires for calculating taxation amounts properly.
Statement Descriptor
Tiny information of the acquisition will display on the bank statement beside the charge. See Stripe- Statement Descriptor documentation to know how it works.
Apple Pay/ Google Pay (Express Checkout)
See Stripe – Express Checkout (Apple Pay/ Google Pay) and understand how to configure Express Checkout options.
Show Earlier Used Cards
It saves the information of previously used cards thus, the returning buyers don’t need to fill up the payment details again.
Prepaid Cards
Enable to allow prepaid cards as valid payment methods.
System Requirements to Set Up Stripe
The official Stripe PHP library included in Easy Digital Downloads requires PHP 5.6 or higher.
How to Add EDD with Appsero to Handle Your Licensing
You can use EDD with Appsero when you have chosen EDD as a digital product selling platform. That means Appsero will now take care of all of your licensing staff. Let’s see how to use it.
Basic Information
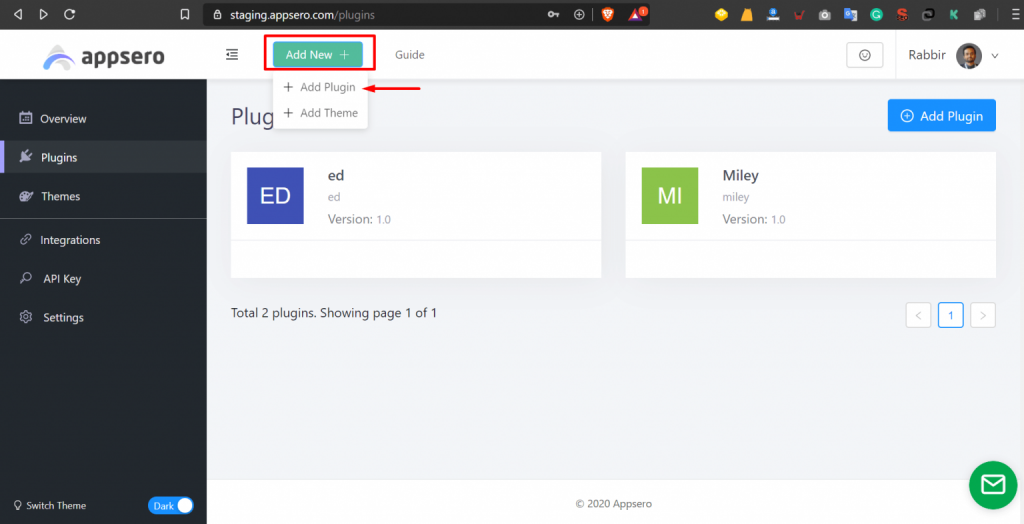
Click on the Add New button and add a new plugin. You will get 2 options- “Add Plugin” and “Add Theme“. For the tutorial purpose, we are selecting the “Add Plugin” button.
Now click on the “Yes, It’s a Premium Plugin” button.
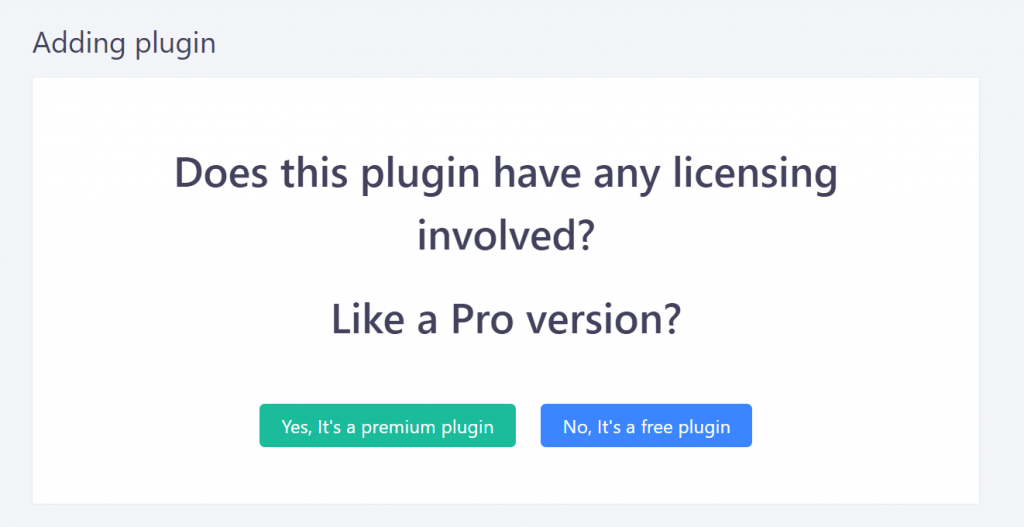
As you are thinking about licensing then it must be a premium product. That’s why all the details need to be filled up manually.
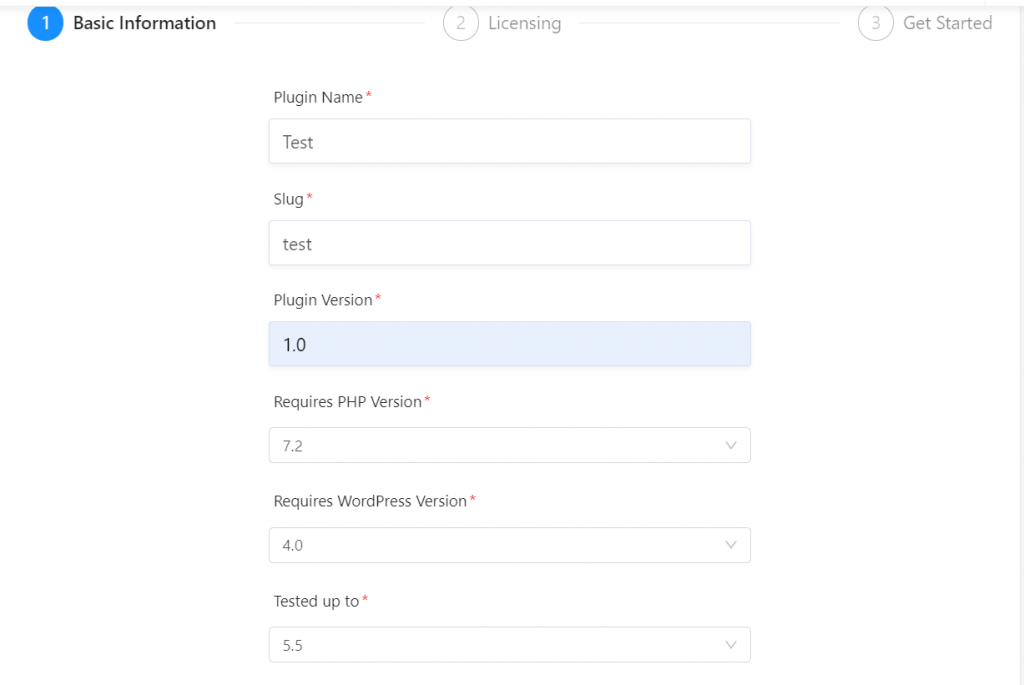
Now, you can add the details in the fields.
Licensing
Appsero will question you in the Licensing part whether you want to handle license by Appsero or not.
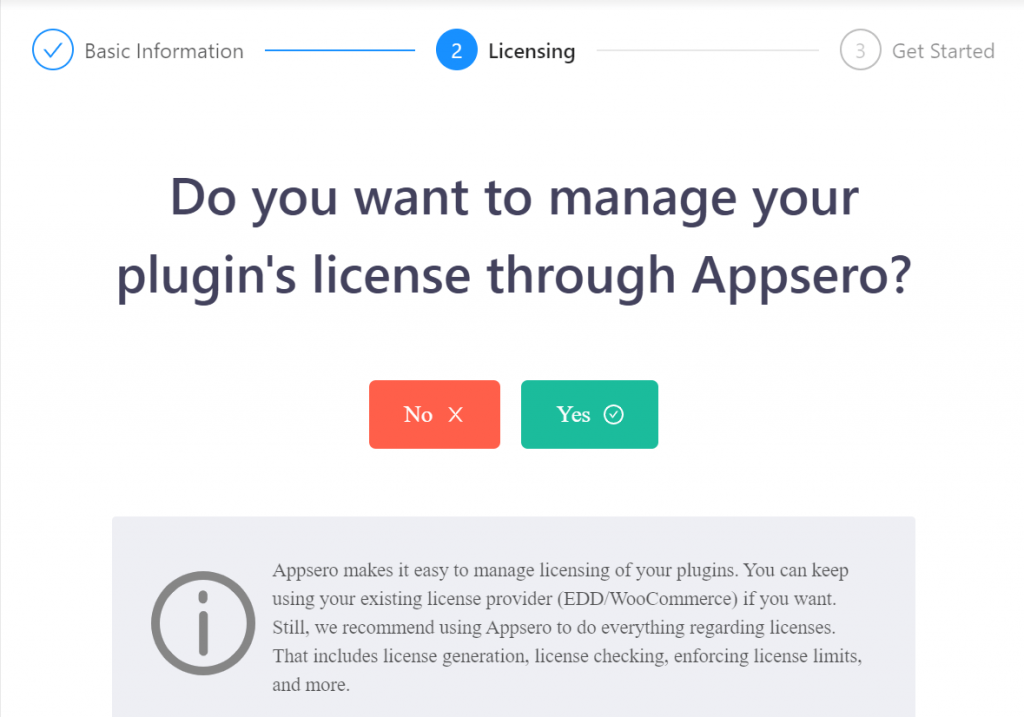
If you press Yes, you can use licensing service.
If you press No, you can only use the analytics part.
Configuring Easy Digital Downloads (EDD) (without Software Licensing)
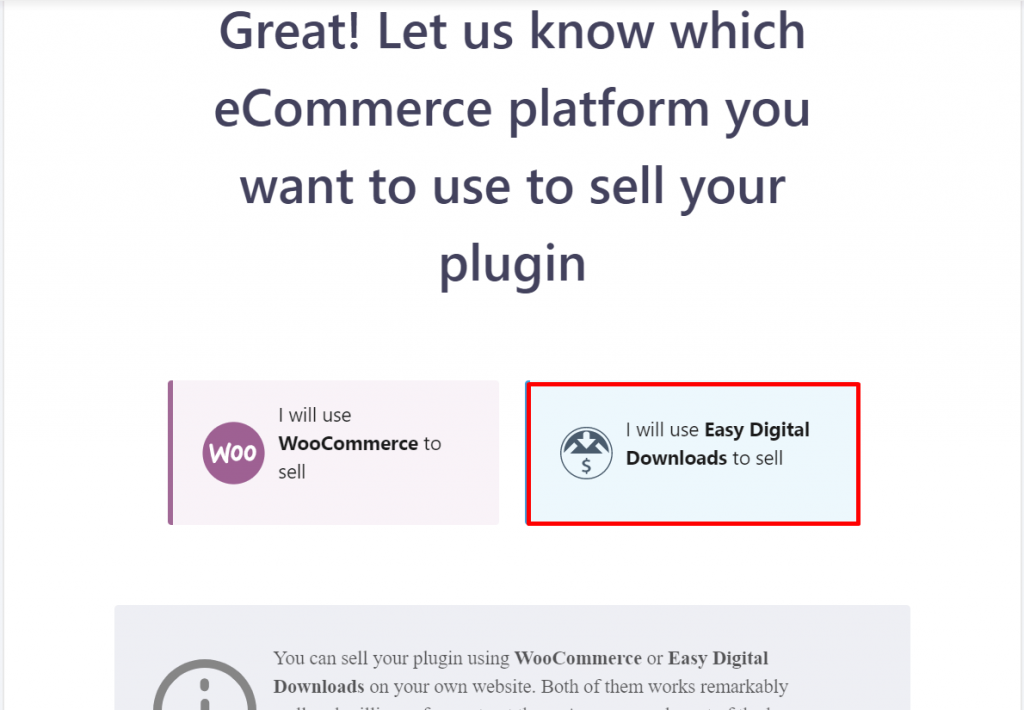
After that click on I don’t use any of them to use EDD as the selling platform.
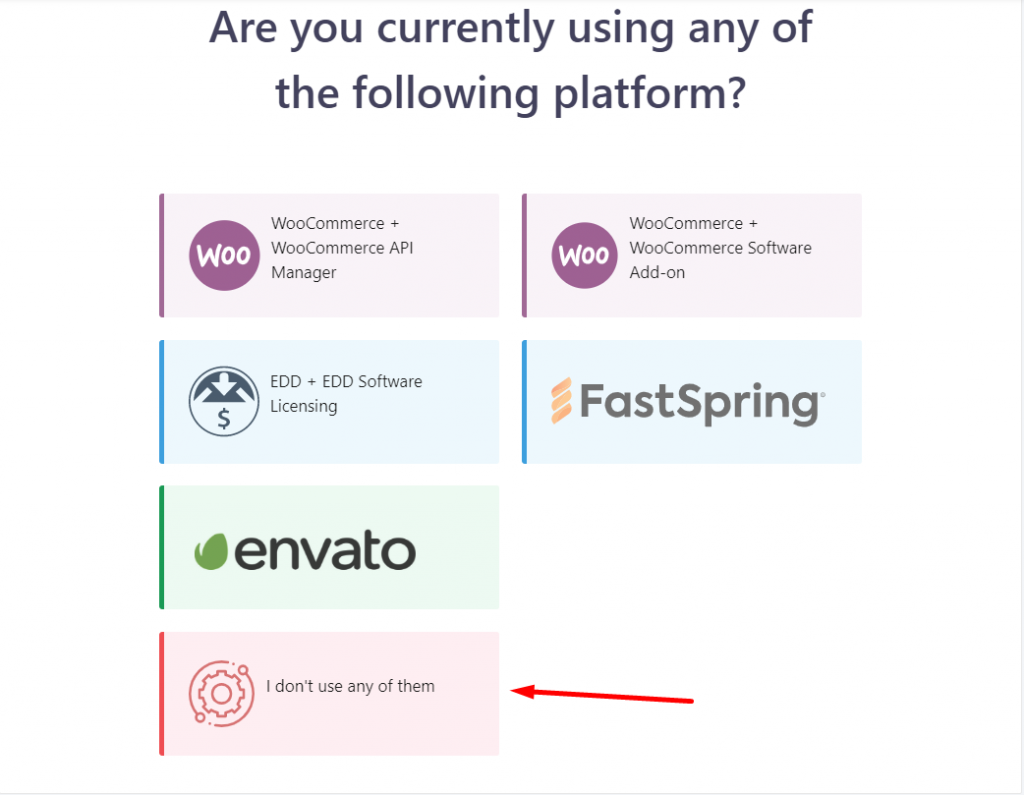
Now there will be 2 options, you have to click on I will Use Easy Digital Downloads to sell.
If you haven’t yet installed EDD on your website and created products over there, Appsero will give you an error.
If you now press on Using Appsero for Licensing or Next, you will redirect to a page.

That redirected page will present a message- Install Appsero Helper Plugin.

So, after installing the Appsero Helper plugin, click on I have installed Appsero Helper plugin. It will give you an API key.
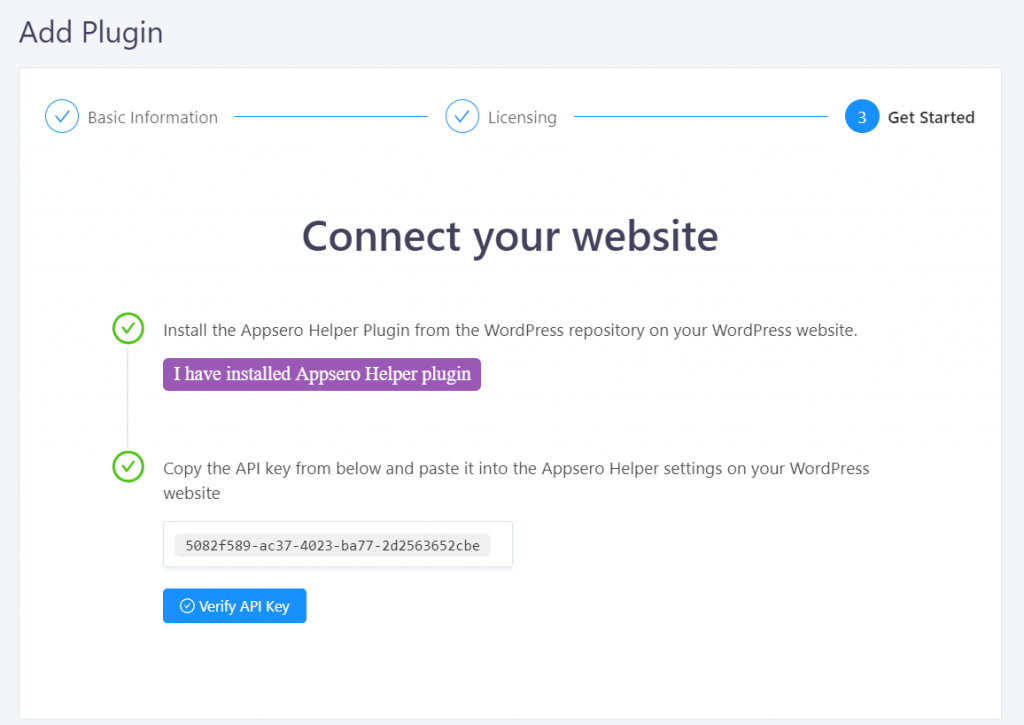
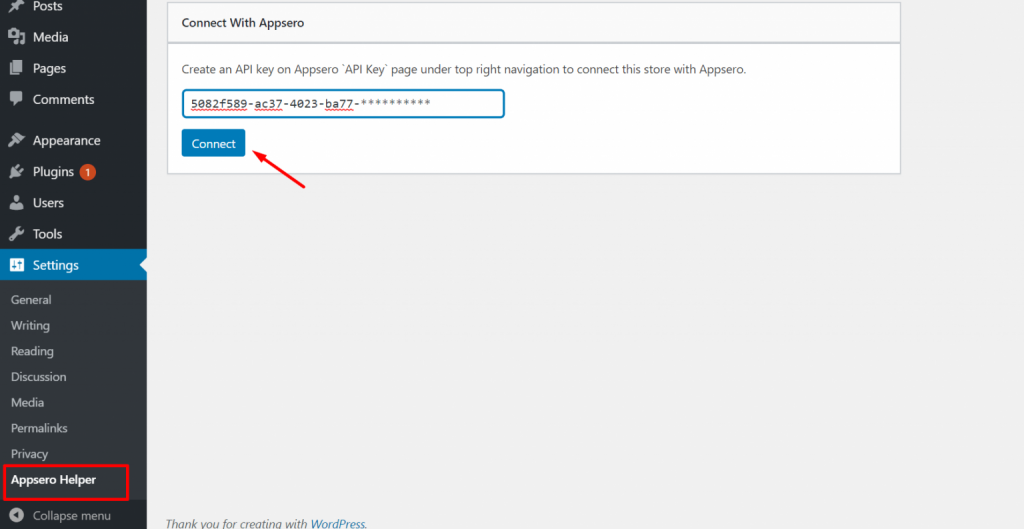
Verify the API key from your website as down below. Now navigate to Settings> Appsero Helper. Then copy the API key, paste it here, and hit the Connect button.
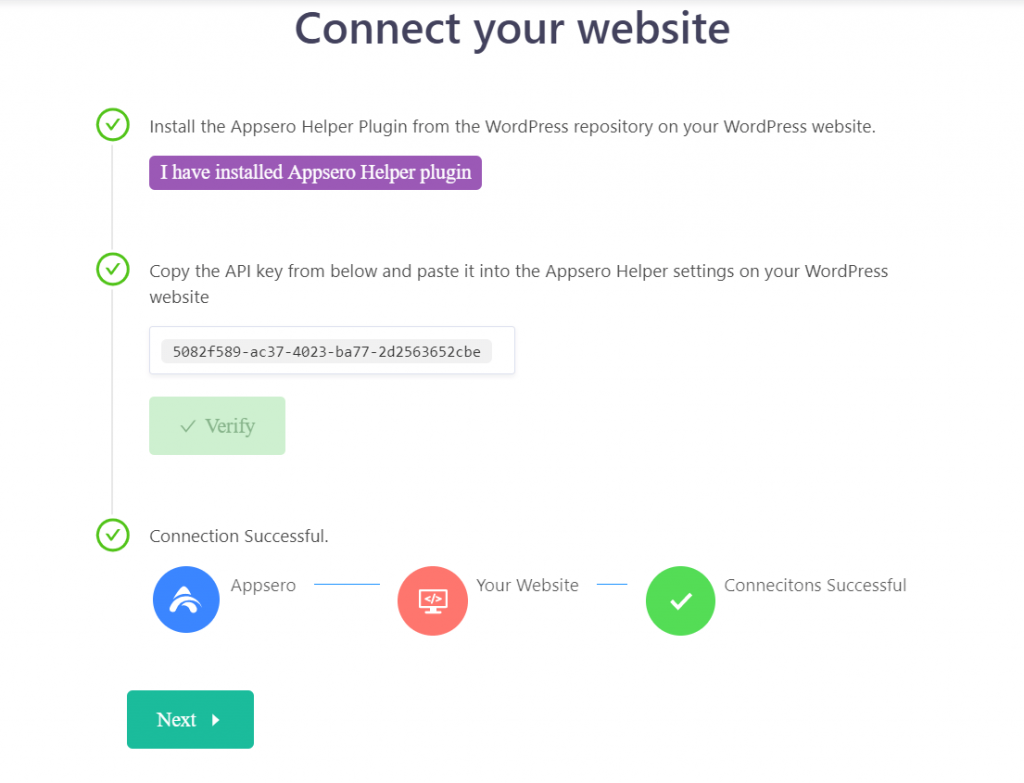
So if you now click on Verify button, you will see that the connection is successful.
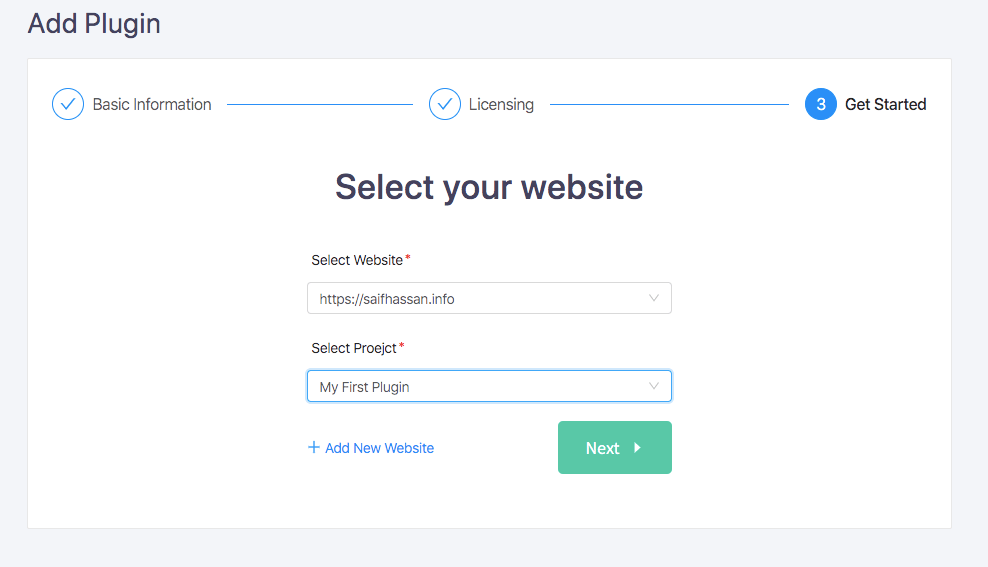
We are almost at the point and instantly you have to select the website that you connected with Appsero.
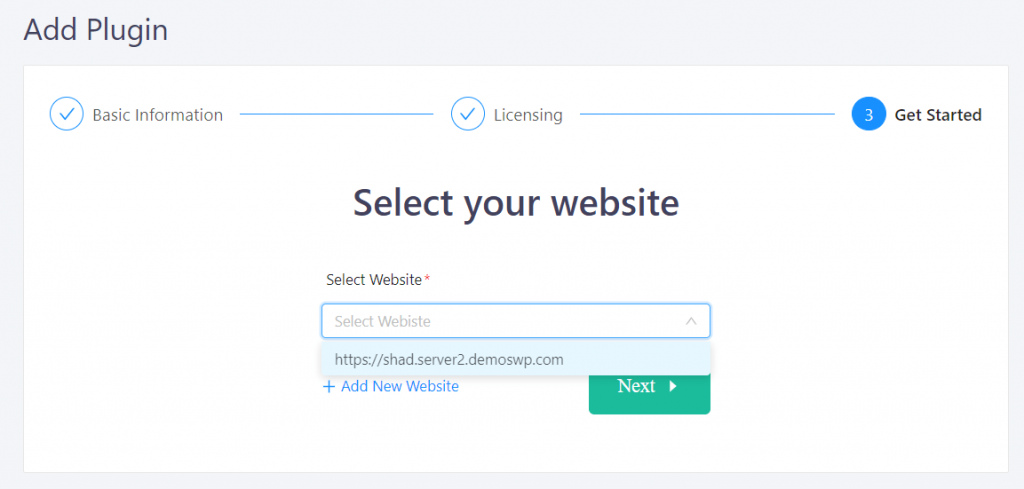
Then select any of your existing projects on your website. You may face an error, in that case, we suggest adding your product already to your store.
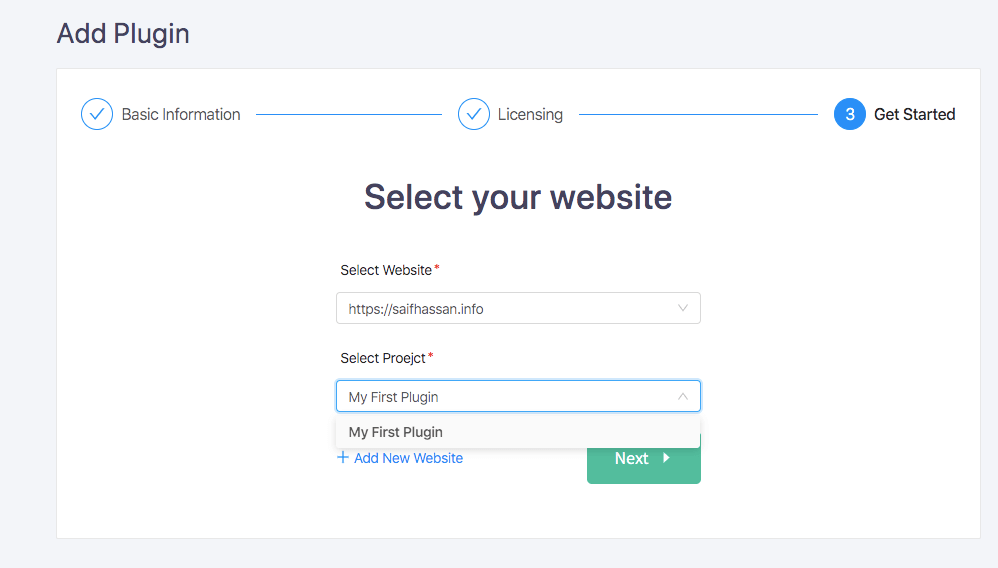
To complete the process hit the Next button.
If you are confused about adding a premium plugin or theme, then follow this documentation.
Choosing License Validity of Each Product
Now, head over to Settings -> Pricing. Ensure the pricing section reflects your product information like your EDD product.
Also, make sure to change activation limits.
That’s how you can use EDD with Appsero as the license manager. If there is any issue, feel free to send an email to [email protected].
Final Thoughts on How to Add Stripe to WordPress
The whole process can be done successfully if you just follow the instruction.
Adding Stripe as your payment gateway can maximize your over all sell.
If you are facing trouble while using Appsero, don’t forget to communicate with the support team.
We are always there for you.
Have a wonderful day!
Subscribe To Our Newsletter
Don’t miss any updates of our new templates and extensions
and all the astonishing offers we bring for you.
