Step 1: Adding Custom Deactivation Reason to Appsero Dashboard
Before proceeding, make sure you have already integrated Appsero SDK to your plugin/theme.
Go to Appsero Dashboard, log in with your credentials and go to your desired WordPress plugin or theme where you want the custom deactivations to show up.
Video Tutorial

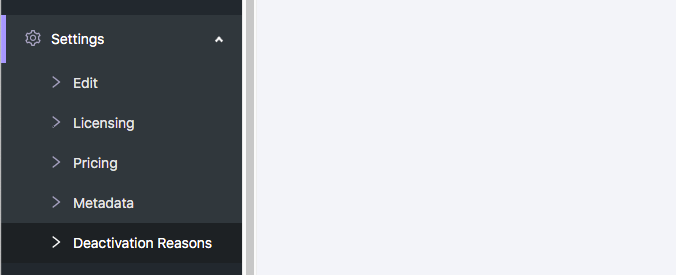
Navigate to Settings >> Custom Deactivation


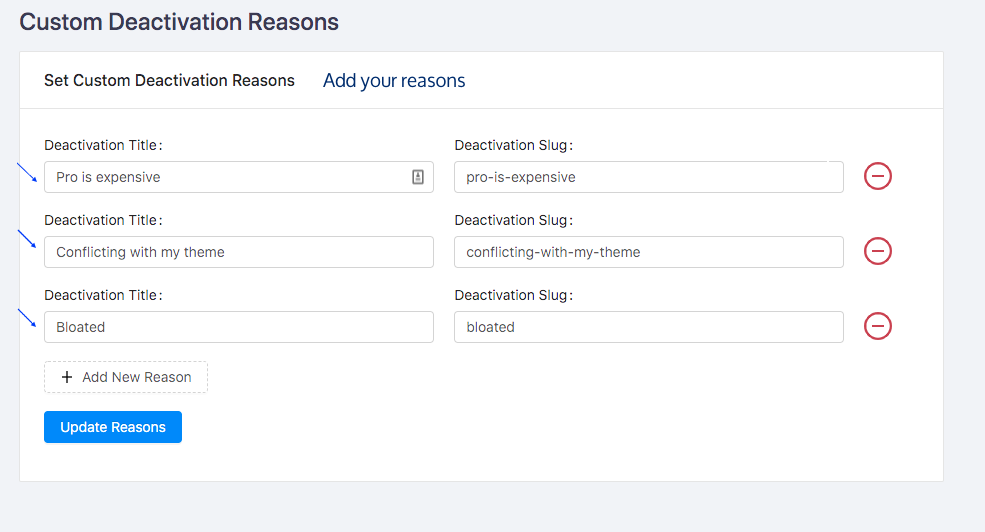
Click Update reasons when you are done.
Step 2: Adding the Custom Reasons on Your Plugin/Theme via the SDK
When you are done adding the custom reasons, notice the following things
- id is the deactivation slug
- text is the deactivation title
- placeholder will show on textarea field
- icon You can set SVG icon with 23×23 size
After setting up the reasons in the Appsero dashboard, map them in your plugin/theme using a filter hook.
add_filter( 'appsero_custom_deactivation_reasons', function () {
return [
[
'id' => 'pro-is-expensive',
'text' => 'Pro is expensive',
'placeholder' => 'Can you please tell which feature looks buggy?',
'icon' => '',
],
[
'id' => 'conflicting-with-my-theme',
'text' => 'Conflicting with my theme',
'placeholder' => 'Could you tell us a bit more?',
'icon' => '',
],
[
'id' => 'bloated',
'text' => 'Bloated',
'placeholder' => 'Could you tell us a bit more?',
'icon' => '',
],
];
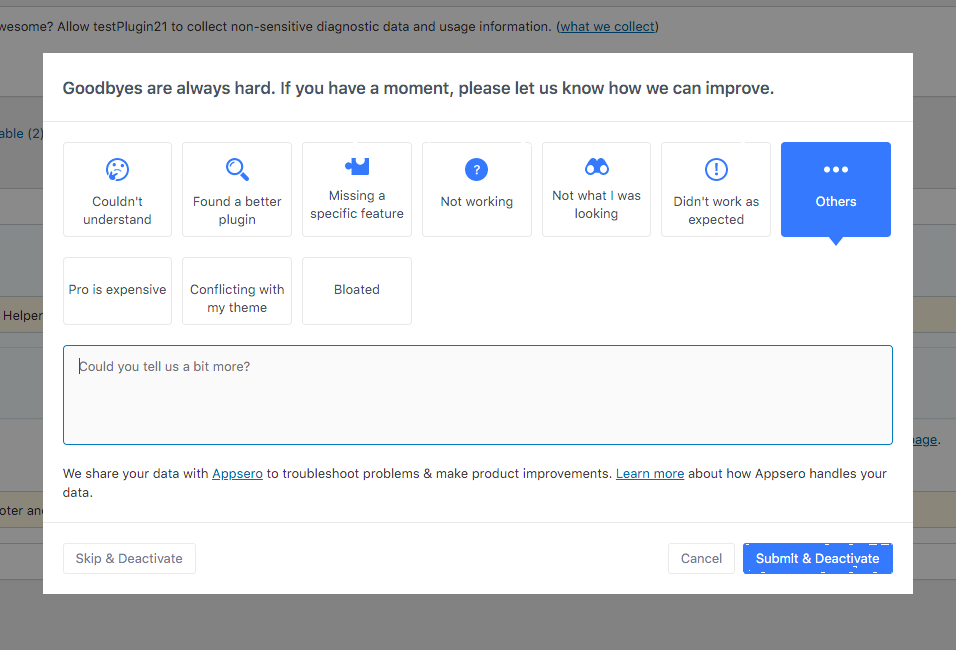
} );Example
For example, I have added the filter for the custom reasons showed above. Carefully match the id and text as per the Appsero dashboard. Now when deactivating, if I click Others – the custom deactivation reasons are showing up.